---
title: Add data
url: https://docs.triply.cc/how-to/add-data/
description: Create a dataset in TriplyDB and load linked data into it from files, from a URL, or from
an existing dataset.
---
# Add data
This section explains how to create a linked dataset in TriplyDB.
## Creating a new dataset
You must be logged in before you can create a new dataset.
### Opening the “Create dataset” dialog
Datasets are created from the page of the account that will own them — your own account, or a group you are a member of.
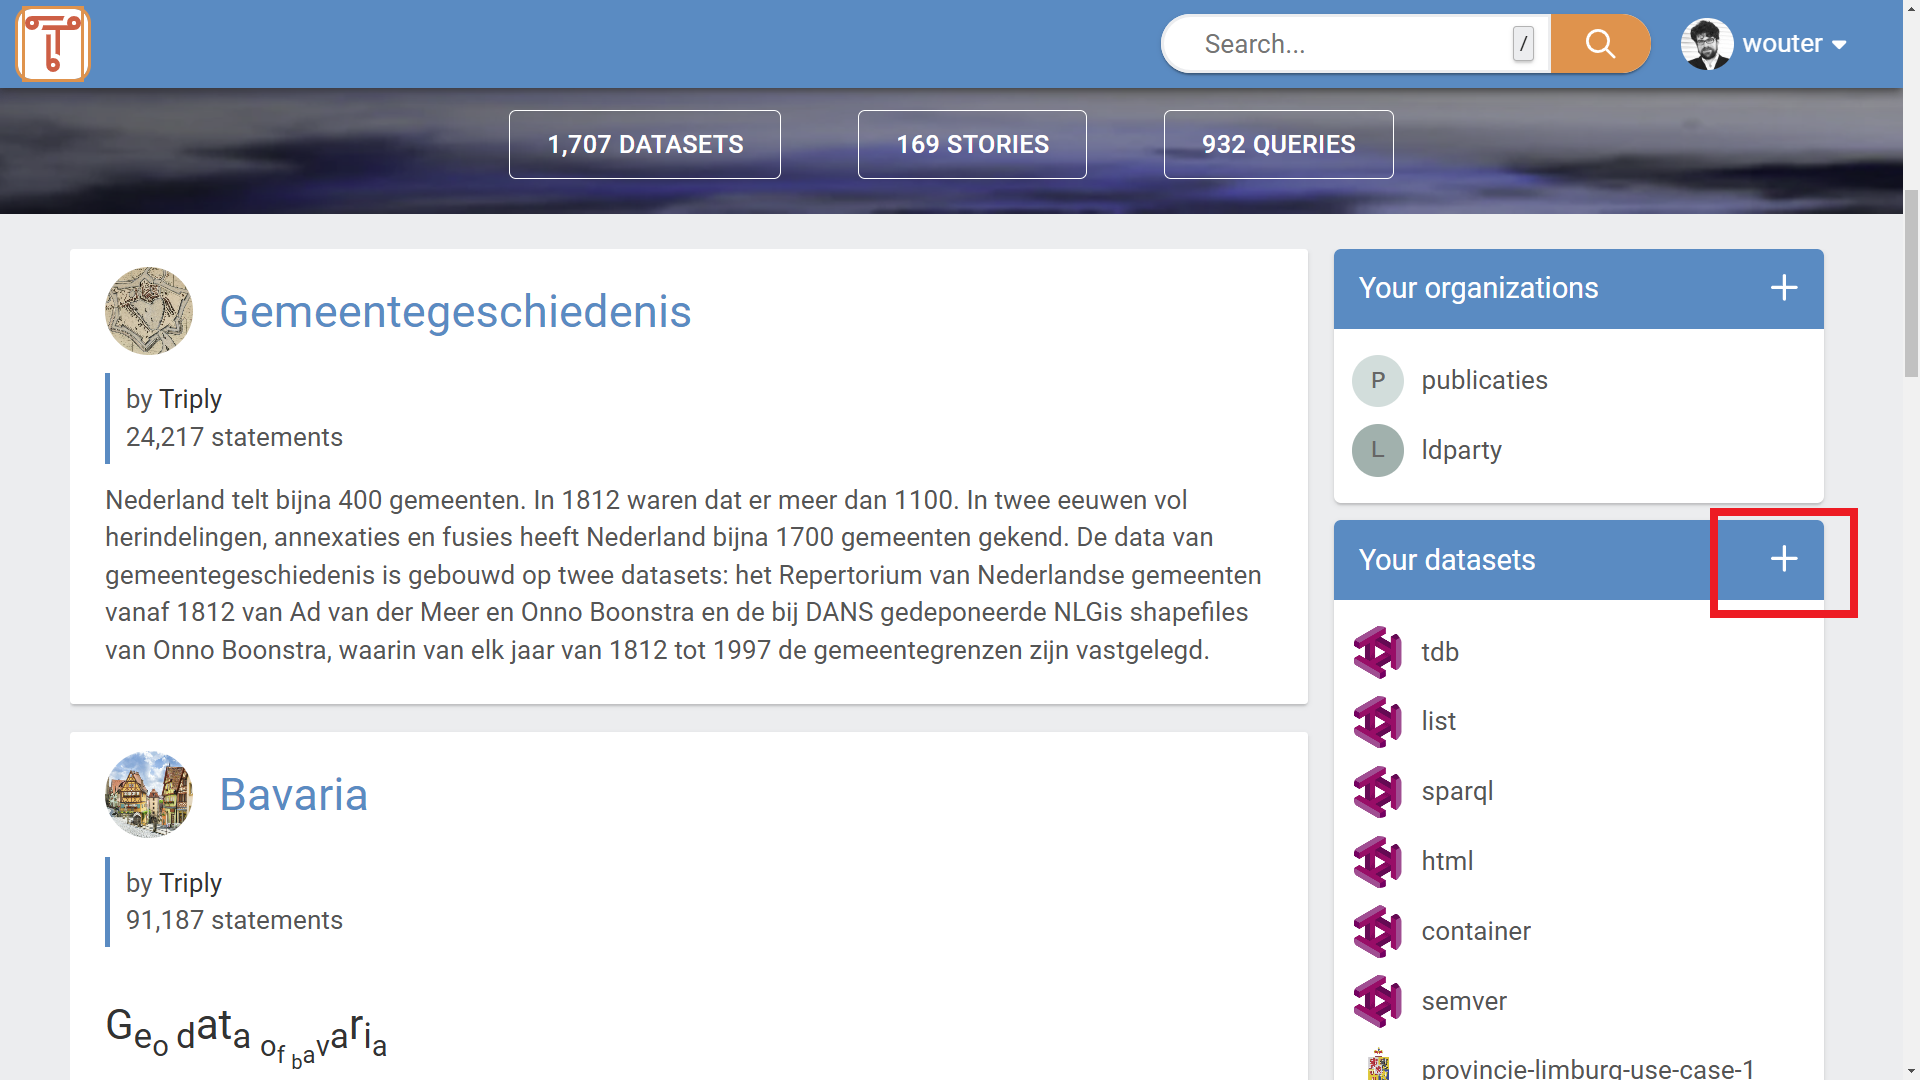
1. From the home screen (see [Figure 1a](#fig-home-screen-logged-in)), open your account through "Your account" under "Quick links", or pick one from the "Content" entry in the left-hand sidebar.
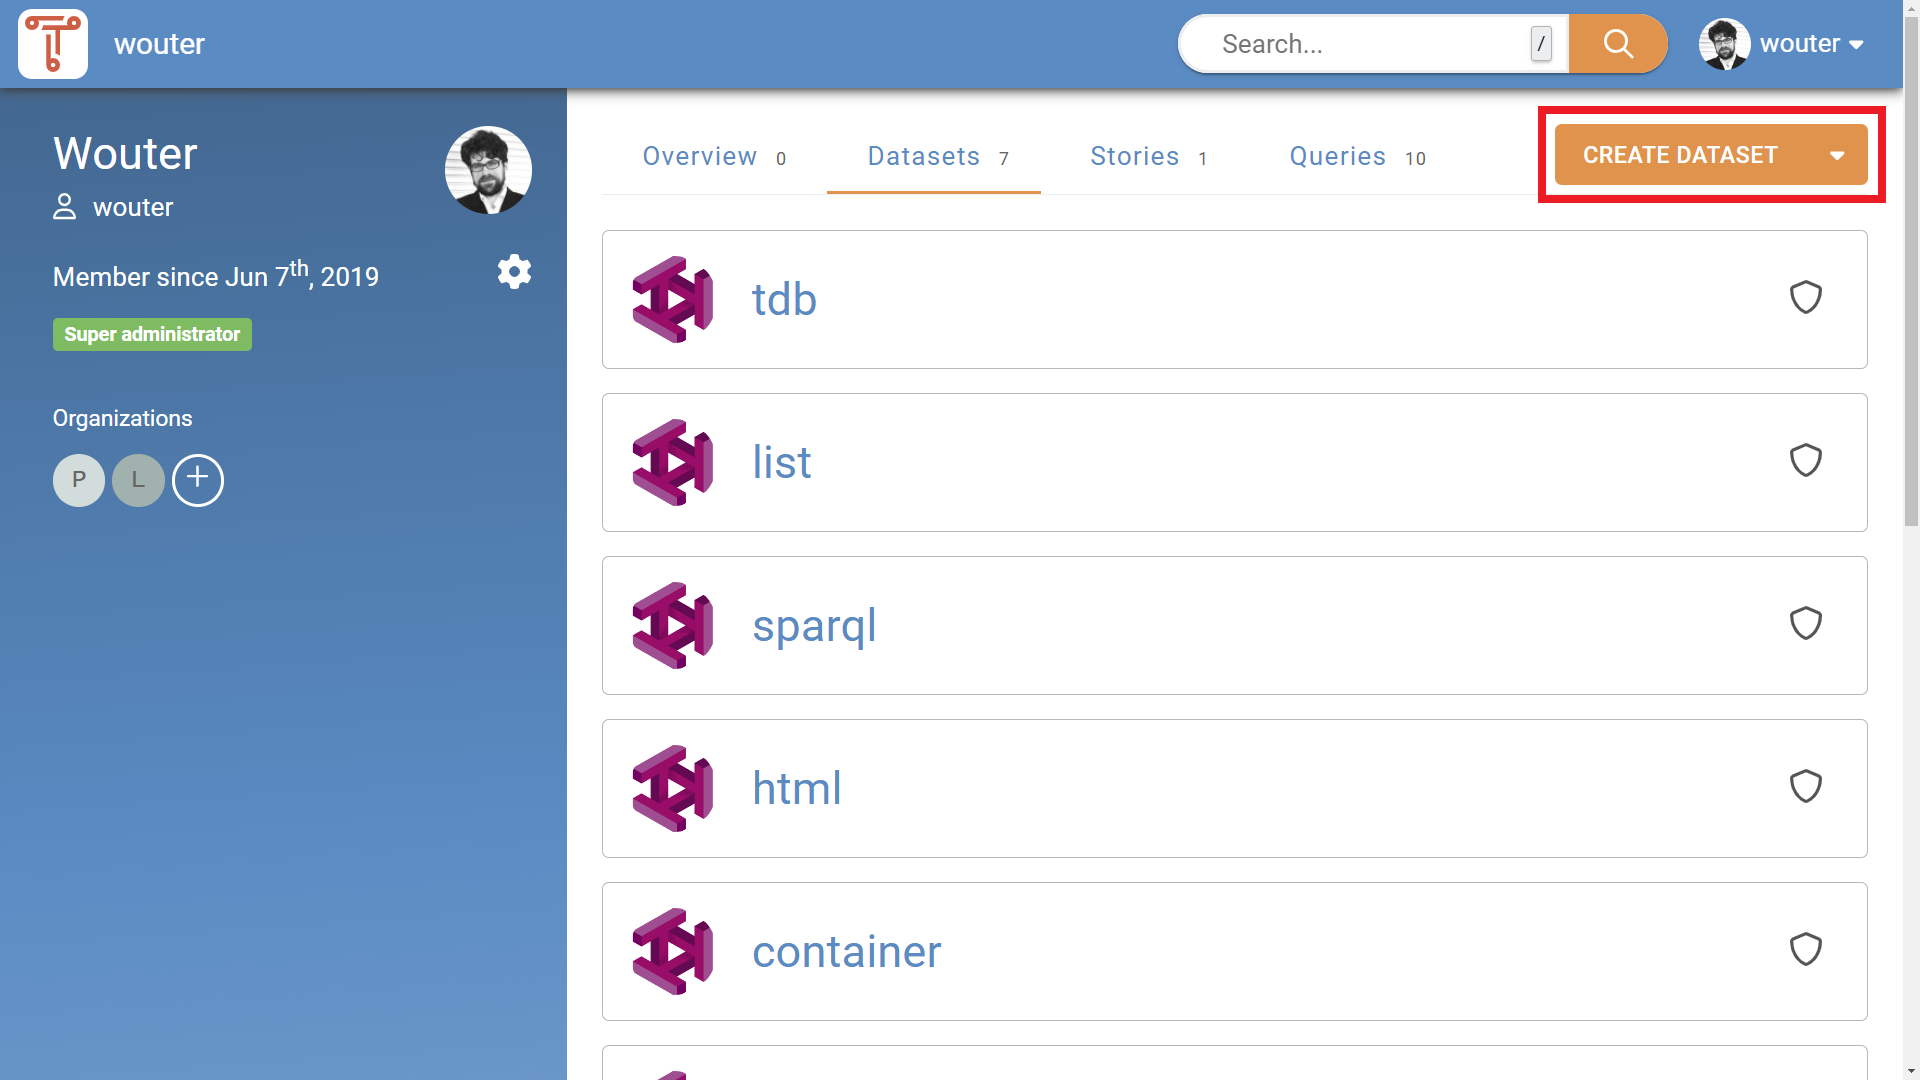
2. On the account page (see [Figure 1b](#fig-user-screen-logged-in)), click the “New” button in the top-right corner and choose “Dataset”. The same button also creates stories, queries, flows and groups.
Figure 1a. The home screen for a logged in user.Figure 1b. The user screen for a logged in user.
### Inside the “Create dataset” dialog
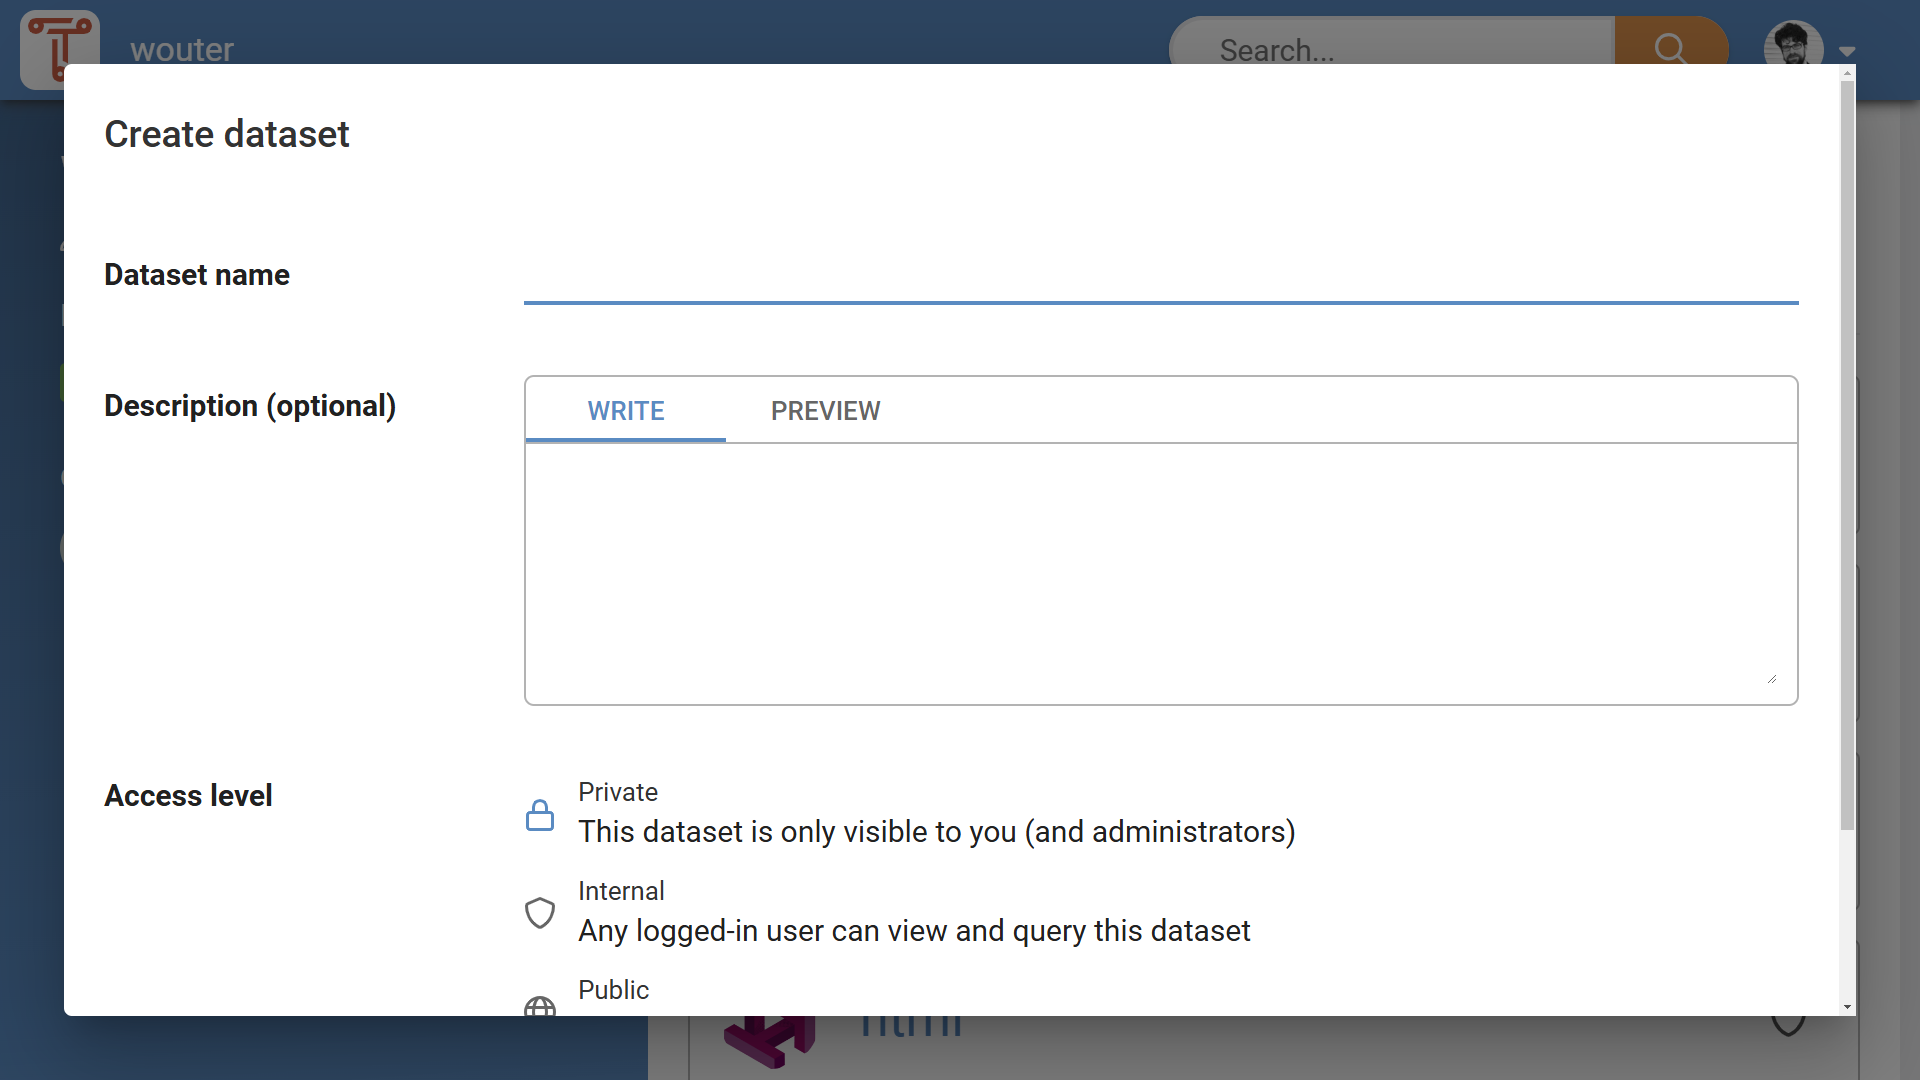
This opens the “Create dataset” dialog (see [Figure 2](#fig-add-dataset-dialog)).
Figure 2. The “Create dataset” dialog
In the “Create dataset” dialog, perform the following steps:
1. Required: Choose the owner. This is the account the dataset will belong to: yourself, or one of the groups you are a member of.
2. Required: Enter a dataset name. A dataset name can contain letters, number, and hyphens. The dataset's URL is derived from it, and can be changed separately with the pencil button beside the field.
3. Optional: Enter a dataset description. This description will be shown in the GUI, and will be included in dataset metadata. The description can be formatted with Markdown, and the "Preview" tab shows how it will read. See [Markdown support](https://docs.triply.cc/reference/markdown/) for details.
4. Optional: Change the access level of the dataset. The standard access level is “Private”. See Section [Dataset Access Levels](https://docs.triply.cc/concepts/access-levels/#access-levels) for more information.
Click “Add dataset”. This creates the dataset and opens its Graphs page, from which data is added (see Section [Adding data](#adding-data)).
## Adding data
You must first have a dataset, before you can add data. See Section [Creating a new dataset](#creating-a-new-dataset) for more information.
### Opening the Graphs page
Data is added on a dataset's Graphs page. You can reach it in any of the following ways:
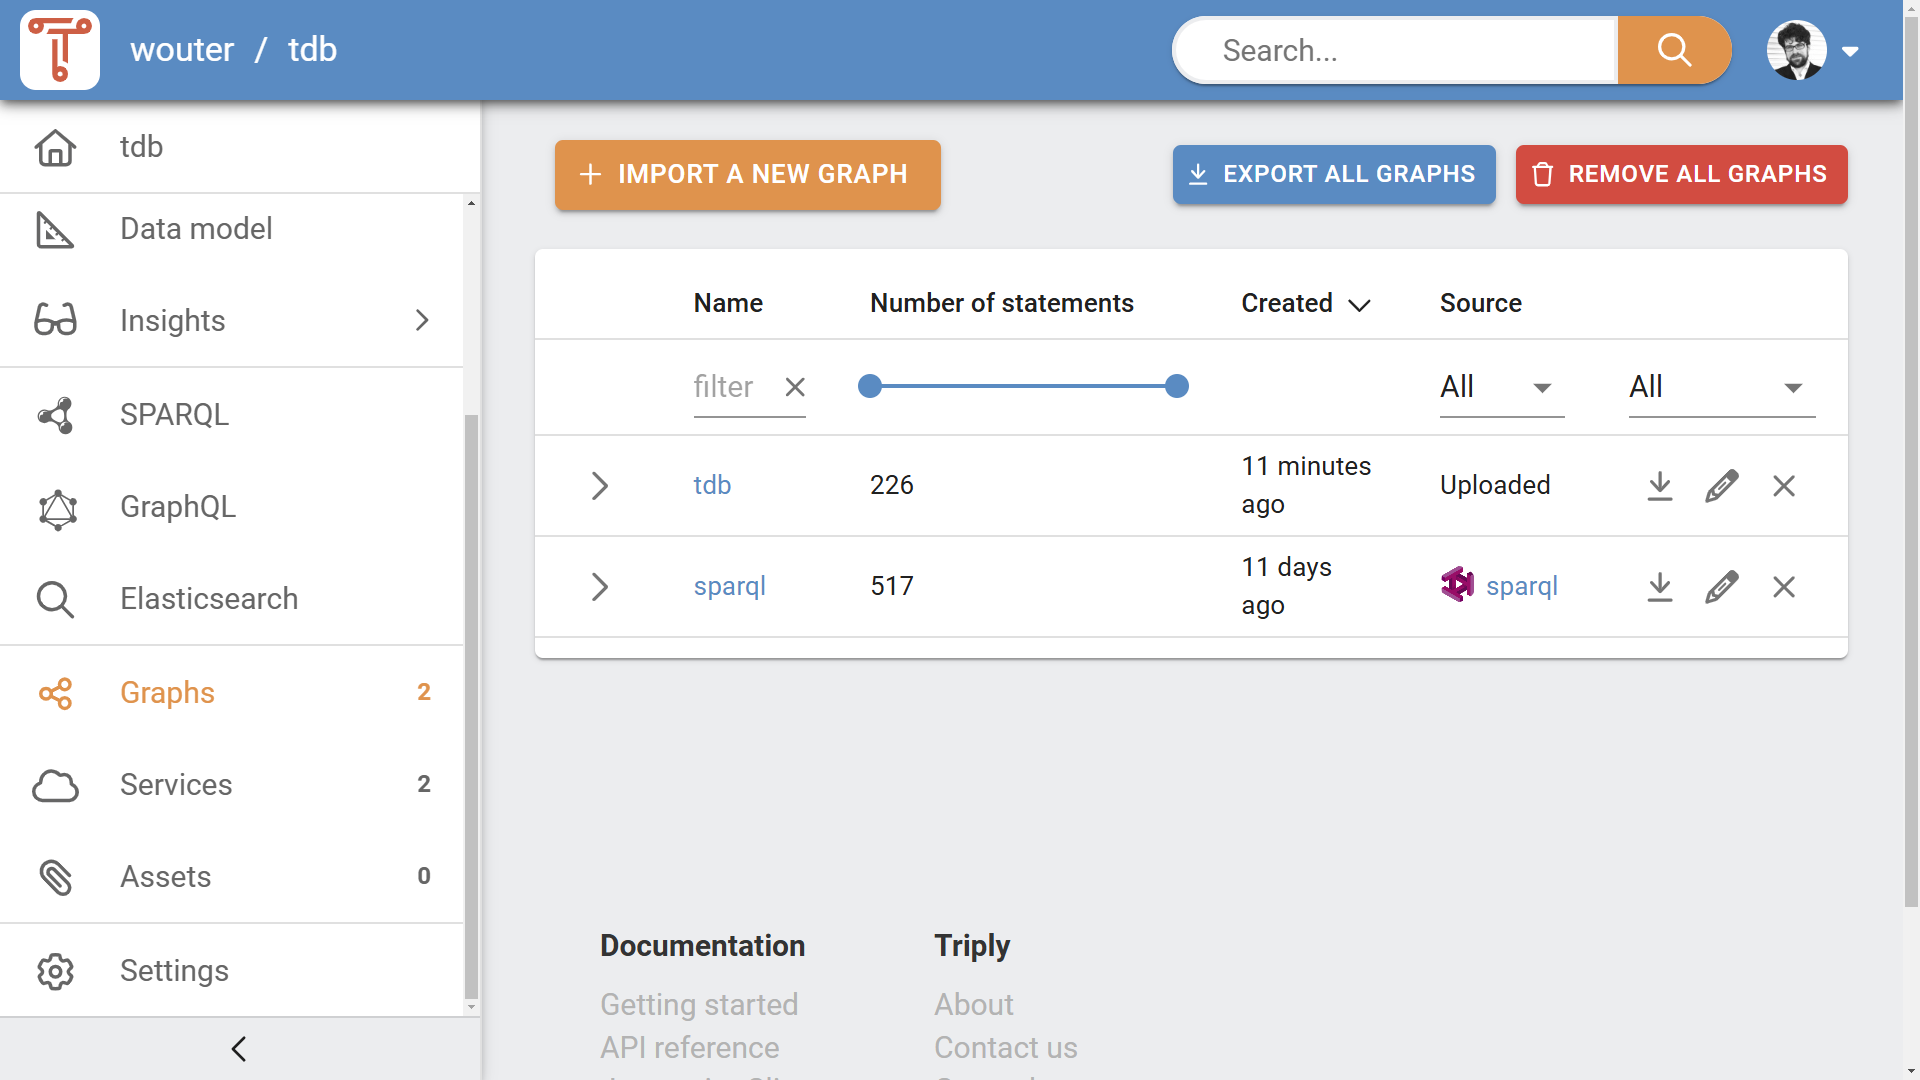
1. Click "Graphs" under "Ecosystem" in the left-hand sidebar (see [Figure 3a](#fig-graphs-page)).
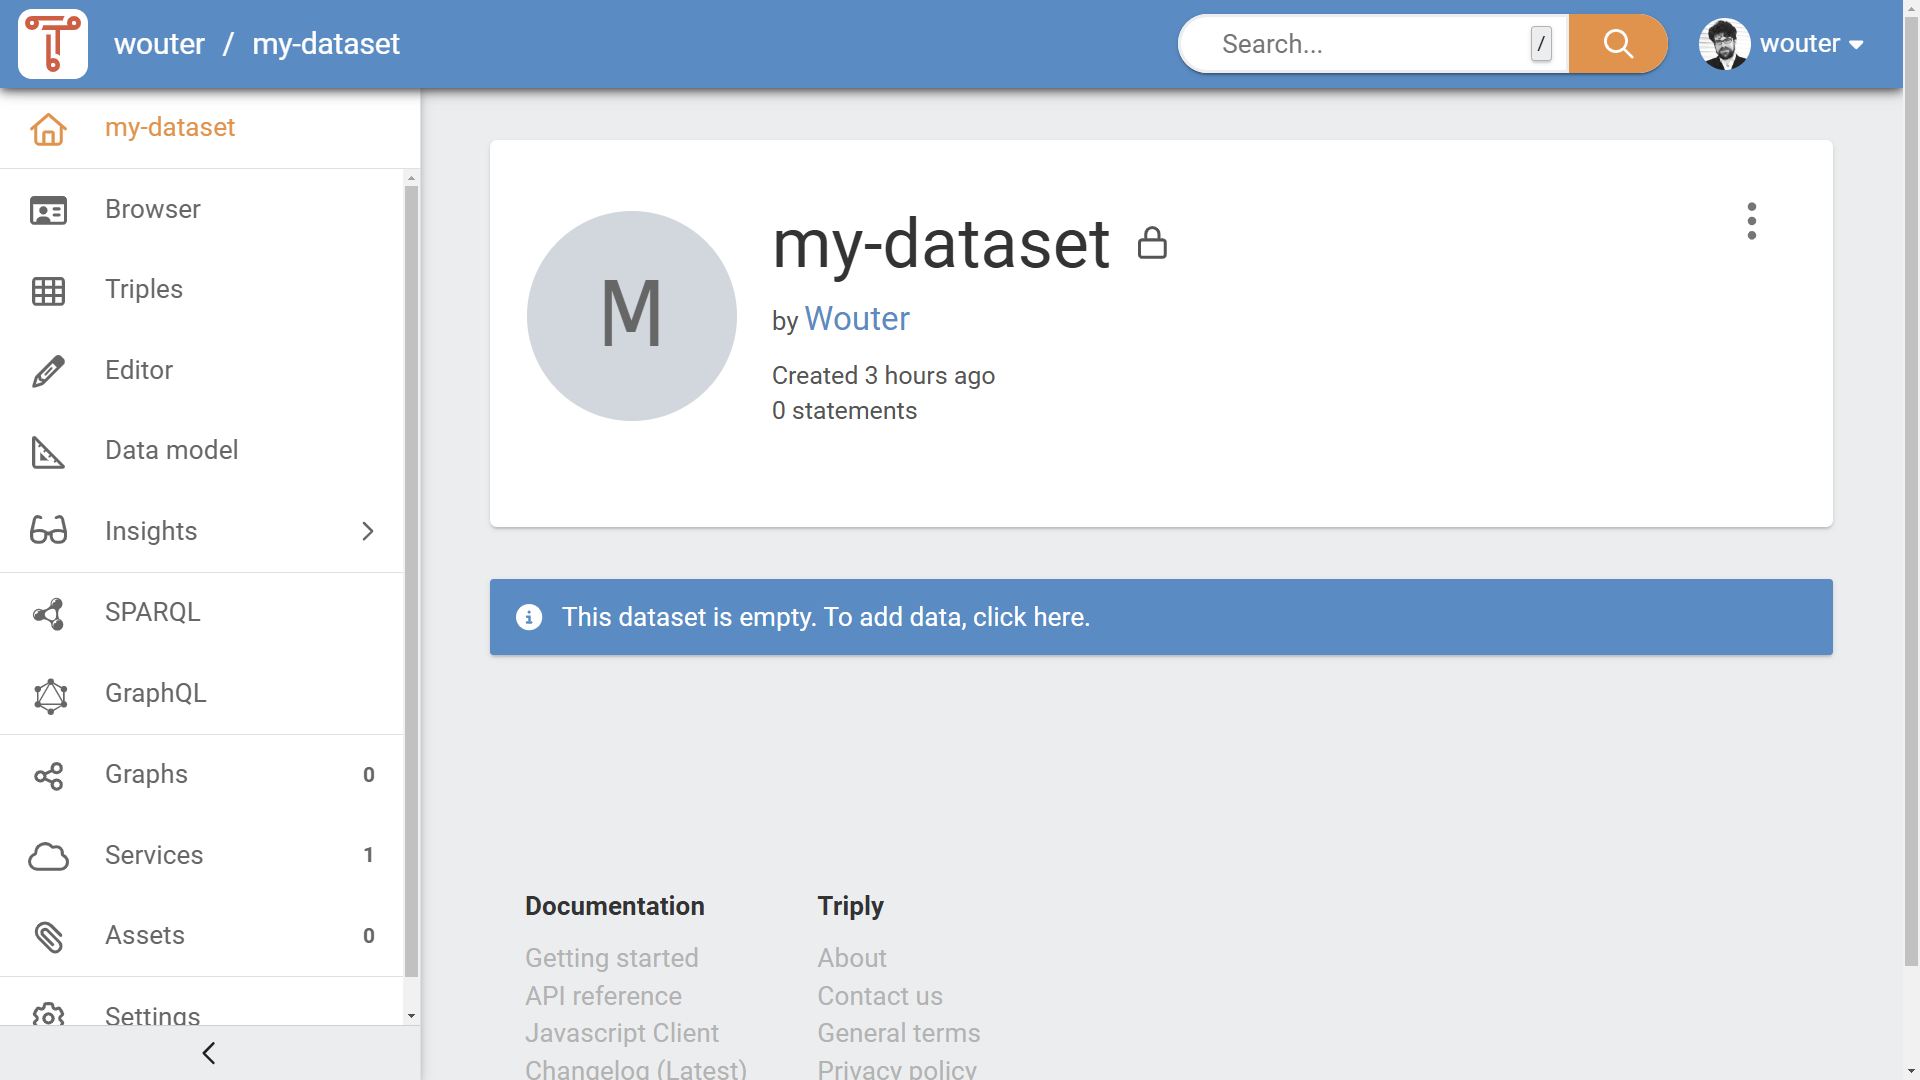
2. Click the "Import data" card on the dataset homepage (see [Figure 3b](#fig-dataset-homepage-no-data)).
3. After creating a new dataset, the Graphs page is opened for you.
Figure 3a. The Graphs page of a dataset.Figure 3b. The homepage of a dataset that has no data yet.
### Choosing how to import
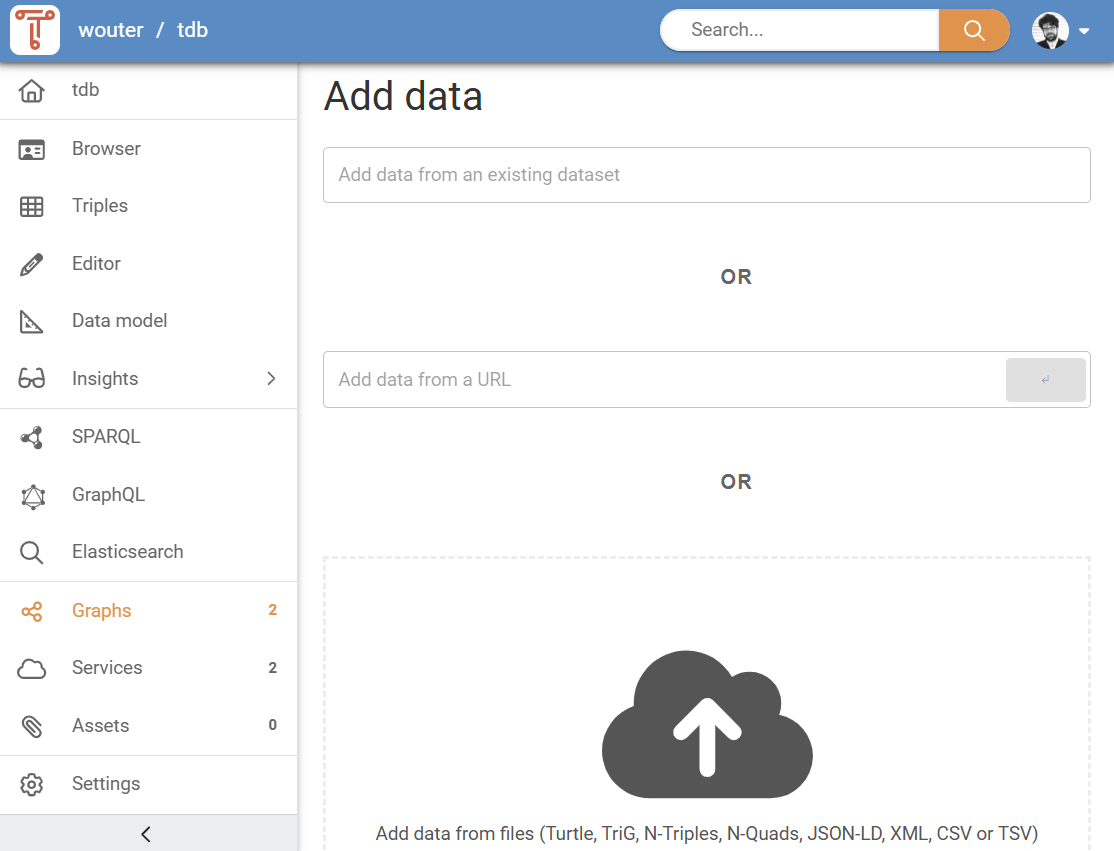
A dataset with no graphs yet offers the three import routes as cards (see [Figure 4](#fig-add-data-pane)). Once the dataset has data, the same three are behind the "Import a new graph" button in the top-right corner.
Figure 4. The Graphs page of a dataset that has no data yet.
Choose one of the following approaches for adding data:
"Import from existing dataset"
Import graphs from another dataset that you have access to in the TriplyDB system. After you have found a dataset, you can choose which graphs to add. See Section Add data from an existing dataset for more details.
"Import from URL"
Enter a URL to a data file that is published online. The URL must be publicly accessible. The URL must point to a file that contains RDF or CSV data. See Section Add data from a URL for more details.
"Upload from your computer"
Select one or more files from your computer, or drop them anywhere on the page. Files must contain RDF or CSV data. See Section Add data from files for more details.
### Add data from an existing dataset
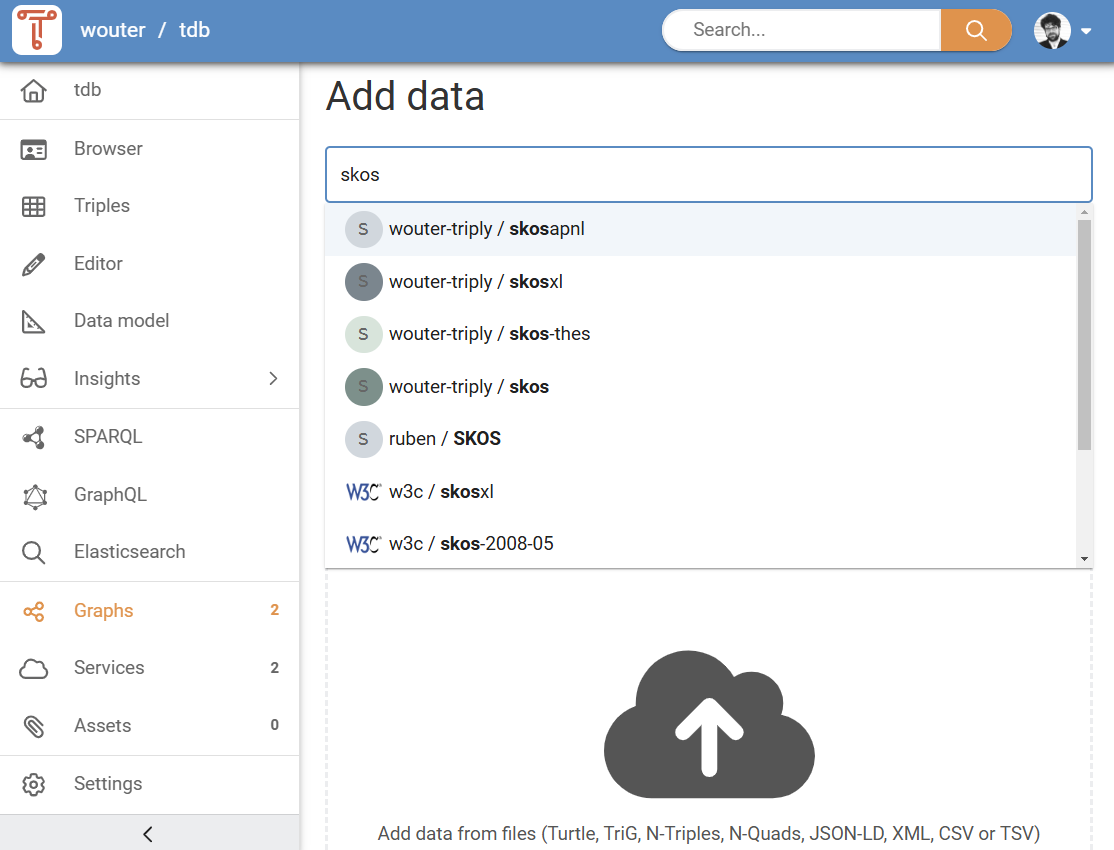
The first option for adding data is to add it from datasets that are already published in the same TriplyDB instance. Choosing "Import from existing dataset" opens the "Import from a dataset" dialog, with a "Dataset" field at the top. By typing in this field, a dropdown list of matching datasets is shown (see [Figure 5](#fig-add-data-from-an-existing-dataset-field)). The list covers every dataset on the instance that you have access to, so it pays to type enough to narrow it down.
Figure 5. The dropdown list that shows existing datasets.
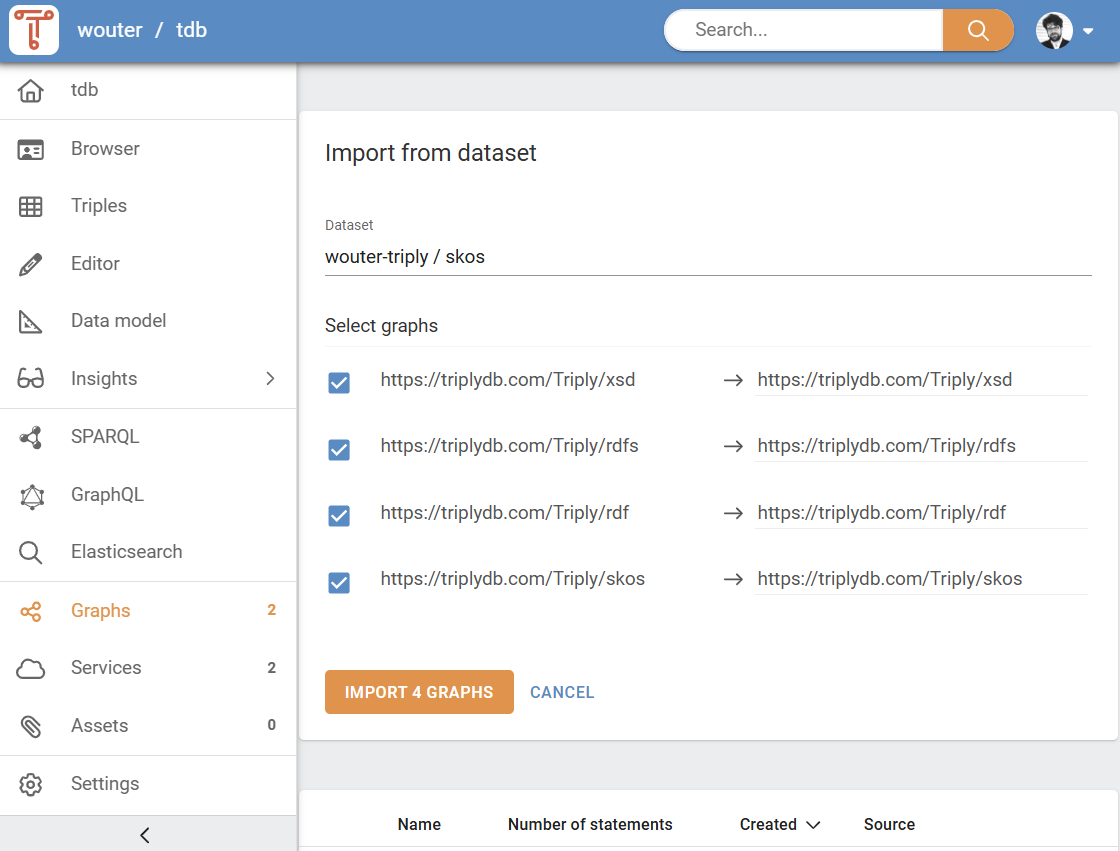
Once the correct dataset appears in the dropdown list, click it to select it. The dialog then lists that dataset's graphs under "Select graphs" (see [Figure 6](#fig-add-data-from-an-existing-dataset-choose-graphs)). All of them are ticked to begin with; untick the ones you do not want, and use the pencil beside a graph to give it a different name in your own dataset. The button counts your selection: click "Import _n_ graphs" to start. Moments later, the graphs are added to your dataset.
Figure 6. Choosing which graphs to import from an existing dataset.
### Add data from URL
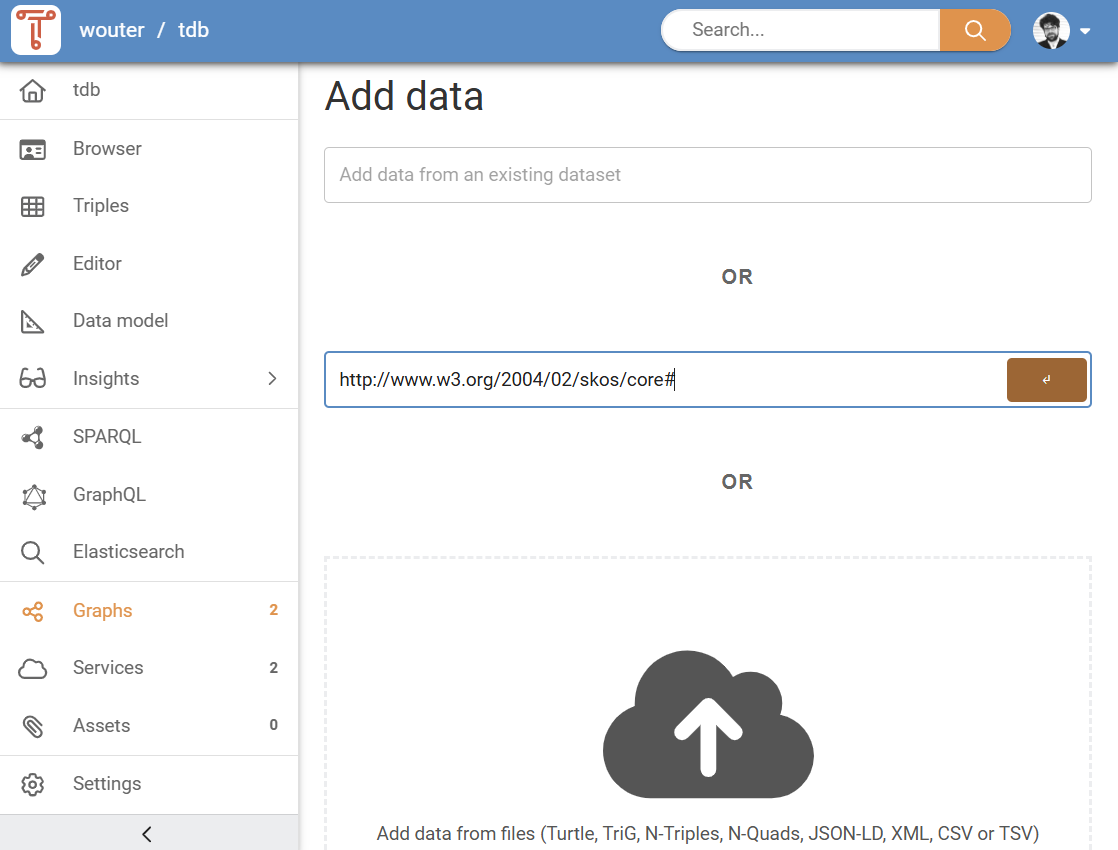
The second option for adding data is to add it from an online URL. Choosing "Import from URL" opens a dialog with a single URL field (see [Figure 7](#fig-add-data-from-a-url-field)). After you have entered the URL, click "Import" to start adding data. The data is now being downloaded to your dataset. How long this takes depends on the size of the data and the speed of the remote server where the data is retrieved from.
Figure 7. The "Import from a URL" dialog.
Only URLs that contain supported data formats will be added. See Section [Supported data formats](#supported-data-formats) for more information.
### Add data from files
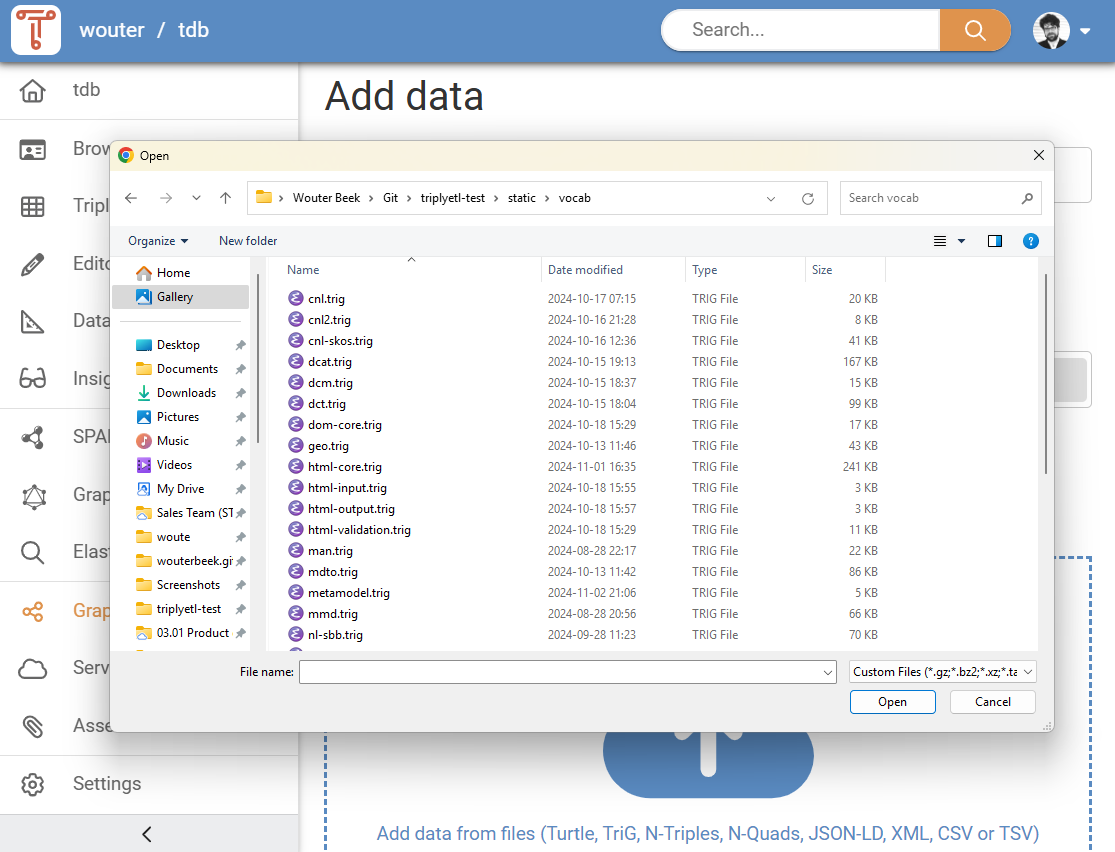
The third option for adding data is to add it from files that are on your computer. Choosing "Upload from your computer" opens the "Add data from files" pane, which is one large drop zone (see [Figure 8](#fig-add-data-from-files-dialog)). From here you can add files in two ways:
1. Click the cloud icon with the upward pointing arrow. This opens your operating system's own file picker, in which you can select one or more files at a time.
2. Drag-and-drop one or more files from your computer onto the drop zone.
Figure 8. The drop zone in the "Add data from files" pane.
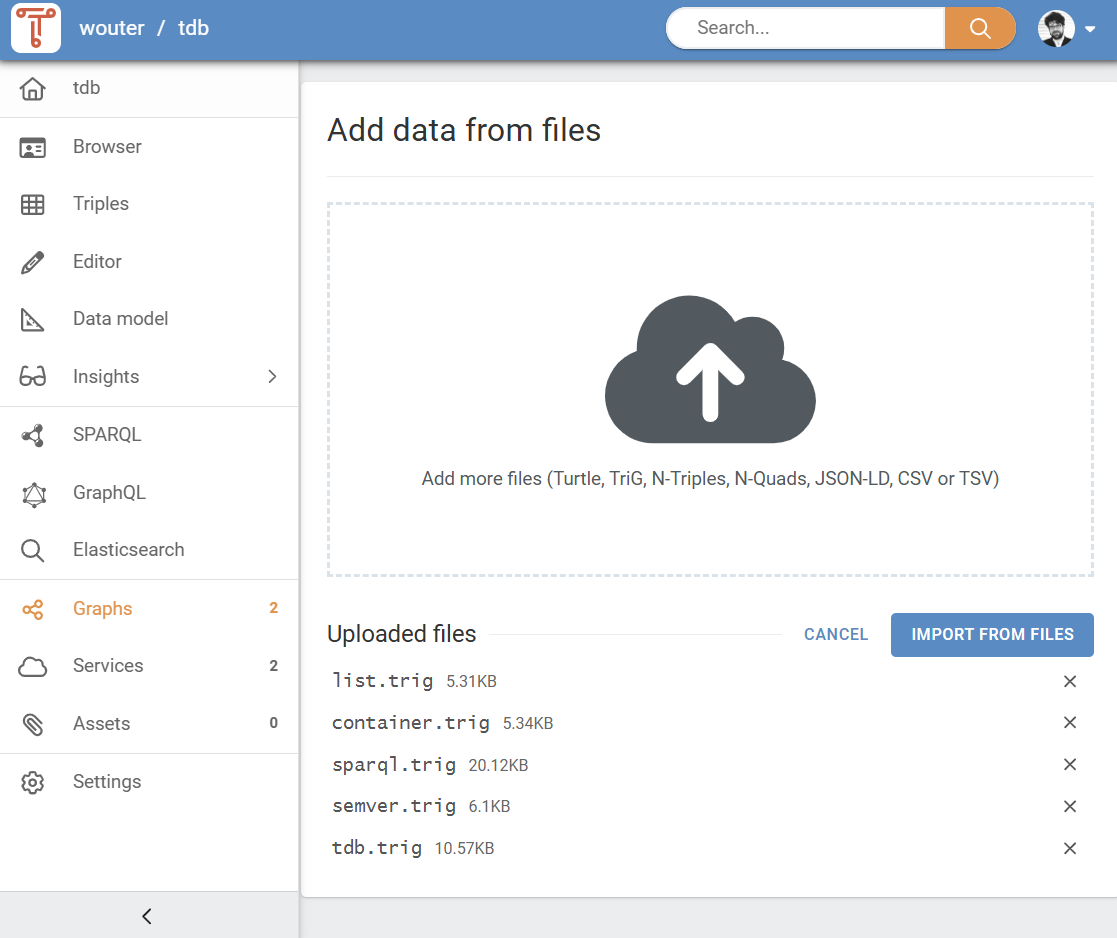
After you have added one or more files, a list of uploaded files appears (see [Figure 9](#fig-add-data-from-files-job)). You can add or remove more files, until you have the complete upload job configured. Once the list of files is complete, you can click "Import from files" to start adding data from files. How long this takes depends on the size of the data.
Figure 9. The list of uploaded files in the "Add data from files" pane.
Only files that contain supported data formats will be added. See Section [Supported data formats](#supported-data-formats) for more information.
### Supported data formats
Files must contain RDF, CSV, TSV, XML or JSON data, and must use one of the supported file name
extensions. CSV, TSV, XML and JSON are converted to RDF on upload.
Up to 1,000 separate files can be uploaded at once. Beyond that, or when the files are large,
compress them into an archive first — an archive may hold any number of files of any size.
See [Supported file formats](https://docs.triply.cc/reference/file-formats/) for the extension tables and for what
each conversion produces.
### Adding malformed data
TriplyDB only allows valid RDF data to be added. If data is malformed, TriplyDB will show an error message that indicates which part of the RDF data is malformed (see screenshot). If such malformed data is encountered, the RDF file must first be corrected and uploaded again.
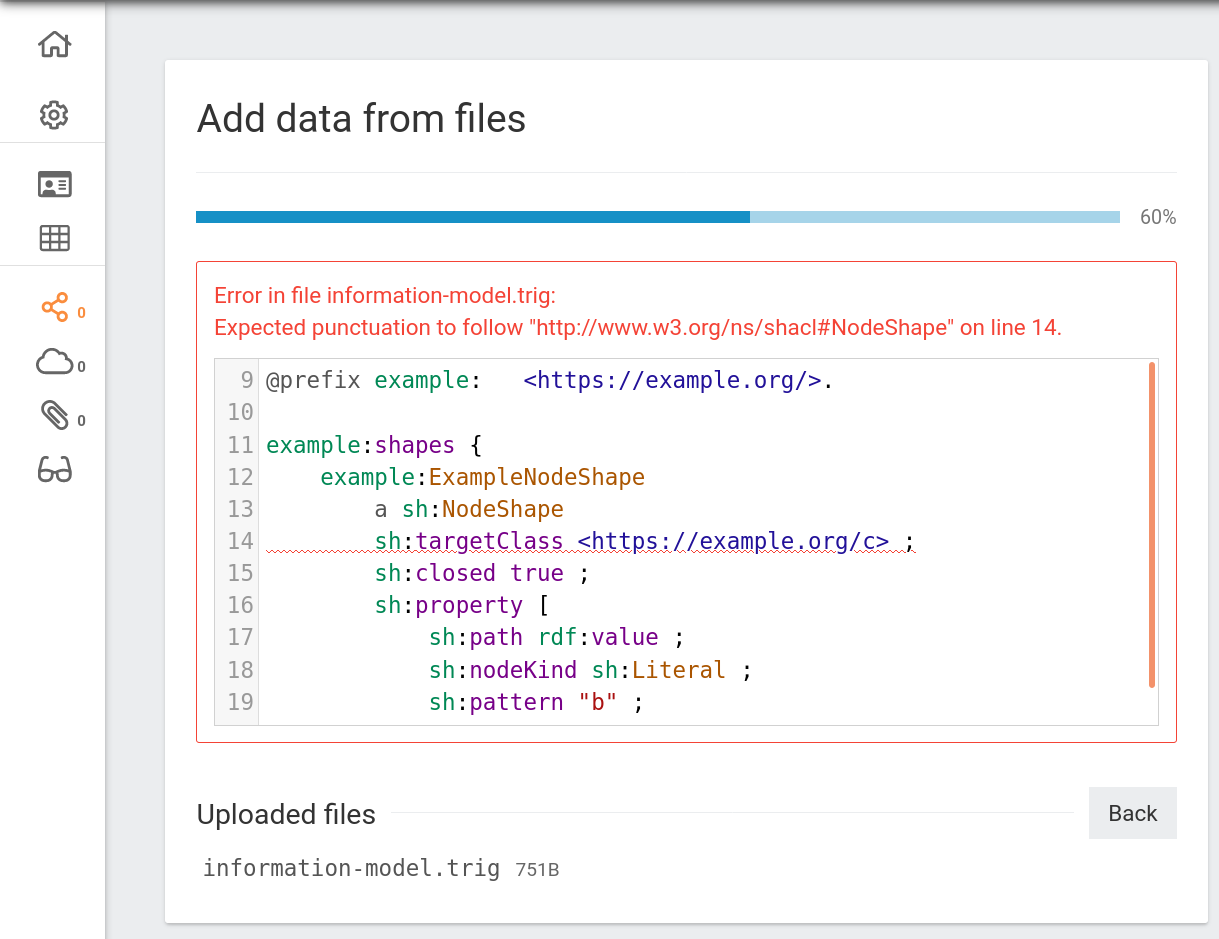
TriplyDB follows the linked data standards strictly. Many triple stores allow incorrect RDF data to be added. This may seem convenient during the loading phase, but often results in errors when standards-compliant tools start using the data.
## Adding data through the API
The API accepts a file directly only up to 5 MB. Above that, an upload becomes a multi-step [tus](https://tus.io/protocols/resumable-upload) flow — see the Jobs endpoints in the [API reference](https://api.triplydb.com/api-docs) — which you rarely want to implement yourself. Use one of these instead, for both linked data and assets:
1. [TriplyDB.js](https://static.triply.cc/triplydb-js/) — the `importFrom*` and `uploadAsset` methods on [the `Dataset` class](https://static.triply.cc/triplydb-js/classes/Dataset.html).
2. [The TriplyDB Command-line Interface](https://static.triply.cc/cli/).
Both handle resuming, retrying and progress reporting for you. Either needs an [API token](https://docs.triply.cc/how-to/create-an-api-token/).
If neither fits — a language other than JavaScript, or a runtime you cannot add a dependency to — [TriplyDBUploads](https://github.com/TriplyDB/TriplyDBUploads) holds reference implementations of the tus flow in Java and Python: creating the upload job, sending the file in 5 MB chunks, starting the job, and polling until it finishes.
### Graph Store Protocol
The one exception to the 5 MB limit is the [SPARQL 1.1 Graph Store HTTP Protocol](https://www.w3.org/TR/sparql11-http-rdf-update/), which TriplyDB implements at `/datasets/ACCOUNT/DATASET/graph-store`. A `PUT` or `POST` there writes a whole graph in a single request, of any size, and the payload is parsed as it arrives — so a file that turns out to be malformed halfway through is refused without ever being stored. See the Graphs endpoints in the [API reference](https://api.triplydb.com/api-docs) for the methods, the graph identification parameters and the response codes.
That single request is also the trade-off: it is not resumable, so a dropped connection takes the upload with it, and nothing reports progress while it runs. Reach for it when a program already speaks the protocol, or for a one-off from the shell:
```sh
curl -H "Authorization: Bearer TRIPLYDB_TOKEN" \
-H "Content-Type: text/turtle" \
-X PUT "https://api.triplydb.com/datasets/ACCOUNT/DATASET/graph-store?graph=https%3A%2F%2Fexample.org%2Fgraph" \
--data-binary @data.ttl
```
Prefer TriplyDB.js or the command-line interface for anything large or unattended.
## Assets: binary data
Not all data can be stored as RDF data. For example images and video files use a binary format. Such files can also be stored in TriplyDB and can be integrated into the Knowledge Graph.
## Related
- [Supported file formats](https://docs.triply.cc/reference/file-formats/) — what TriplyDB accepts, and how CSV,
TSV, XML and JSON are converted
- [Share and publish data](https://docs.triply.cc/how-to/share-and-publish/) — making a dataset available to others
- [Export data](https://docs.triply.cc/how-to/export-data/) — getting data back out
- [Manage services](https://docs.triply.cc/how-to/manage-services/) — making the data queryable once it is in
- [Linked data](https://docs.triply.cc/concepts/linked-data/) — what triples and graphs are