Uploading Data
This section explains how to create a linked dataset in TriplyDB.
Creating a new dataset
You must be logged in before you can create a new dataset.
Opening the “Create dataset” dialog
Datasets are created from the page of the account that will own them — your own account, or a group you are a member of.
-
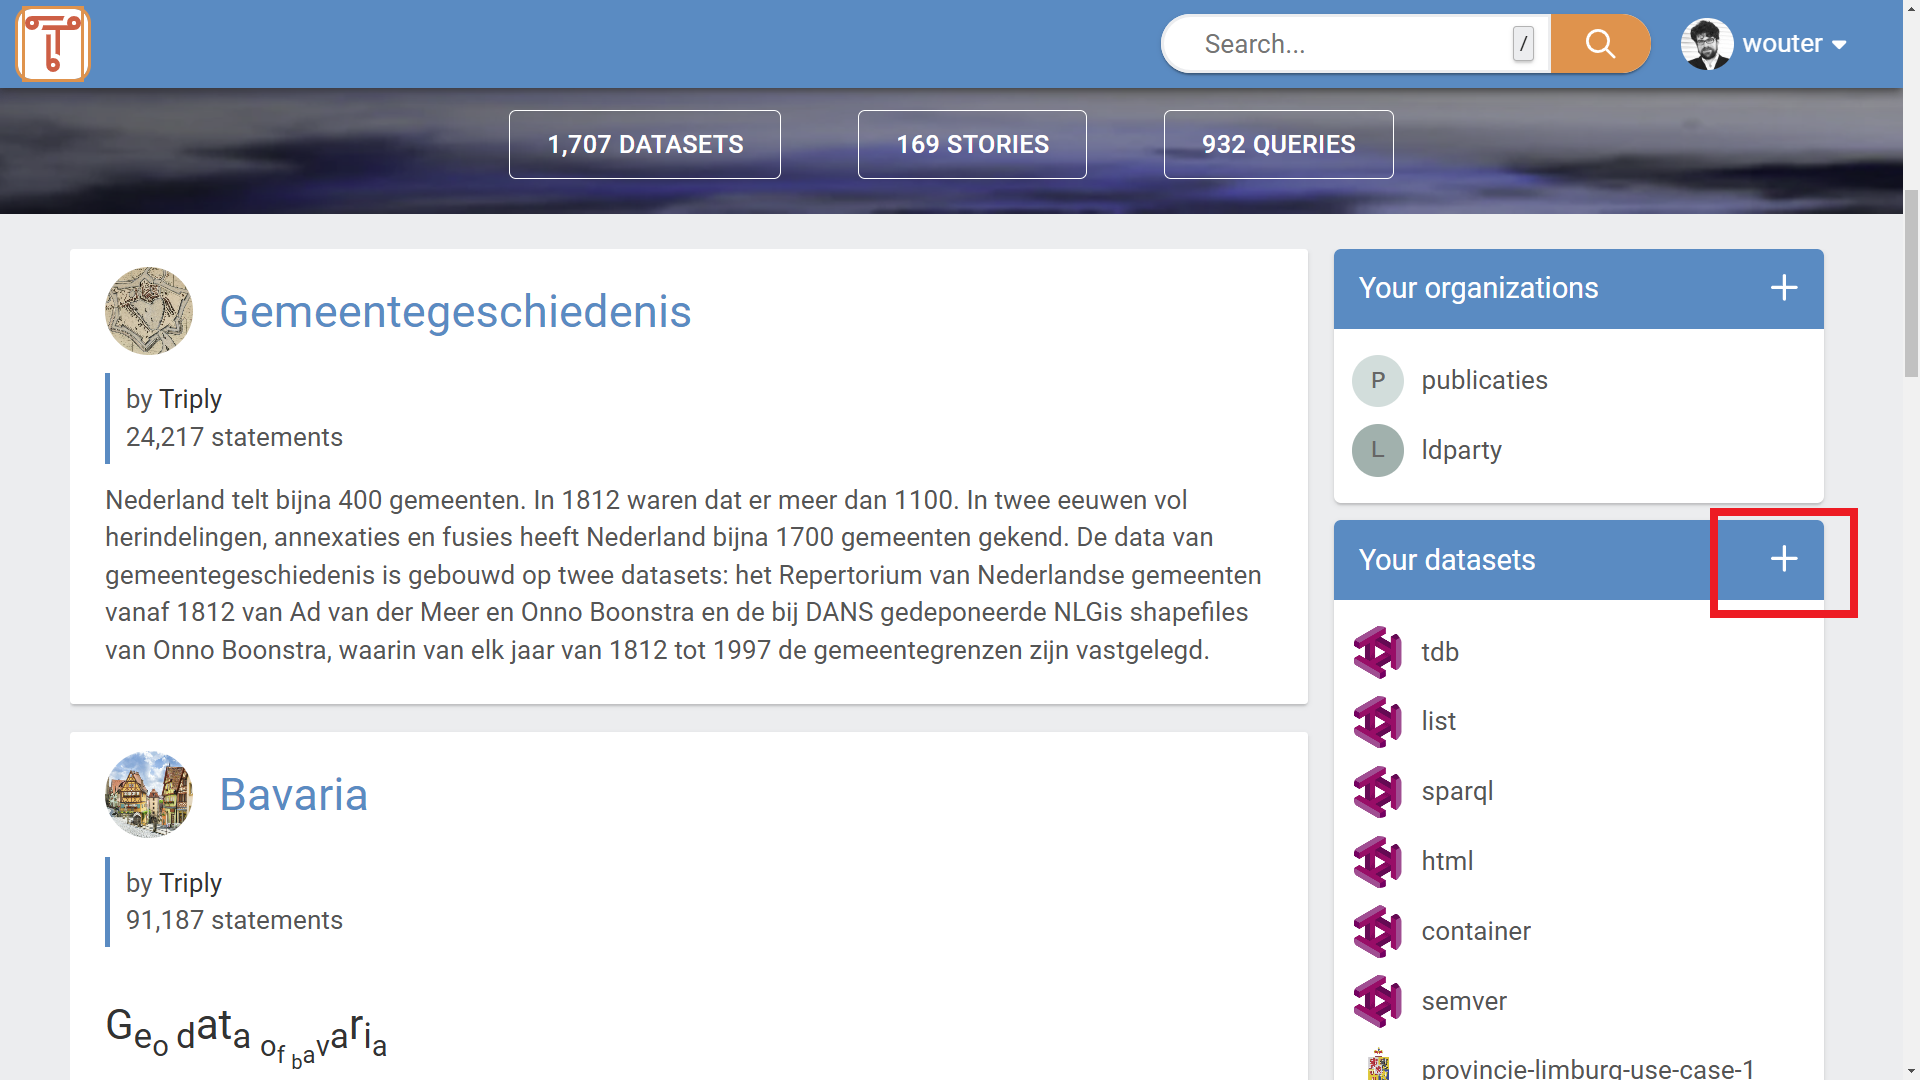
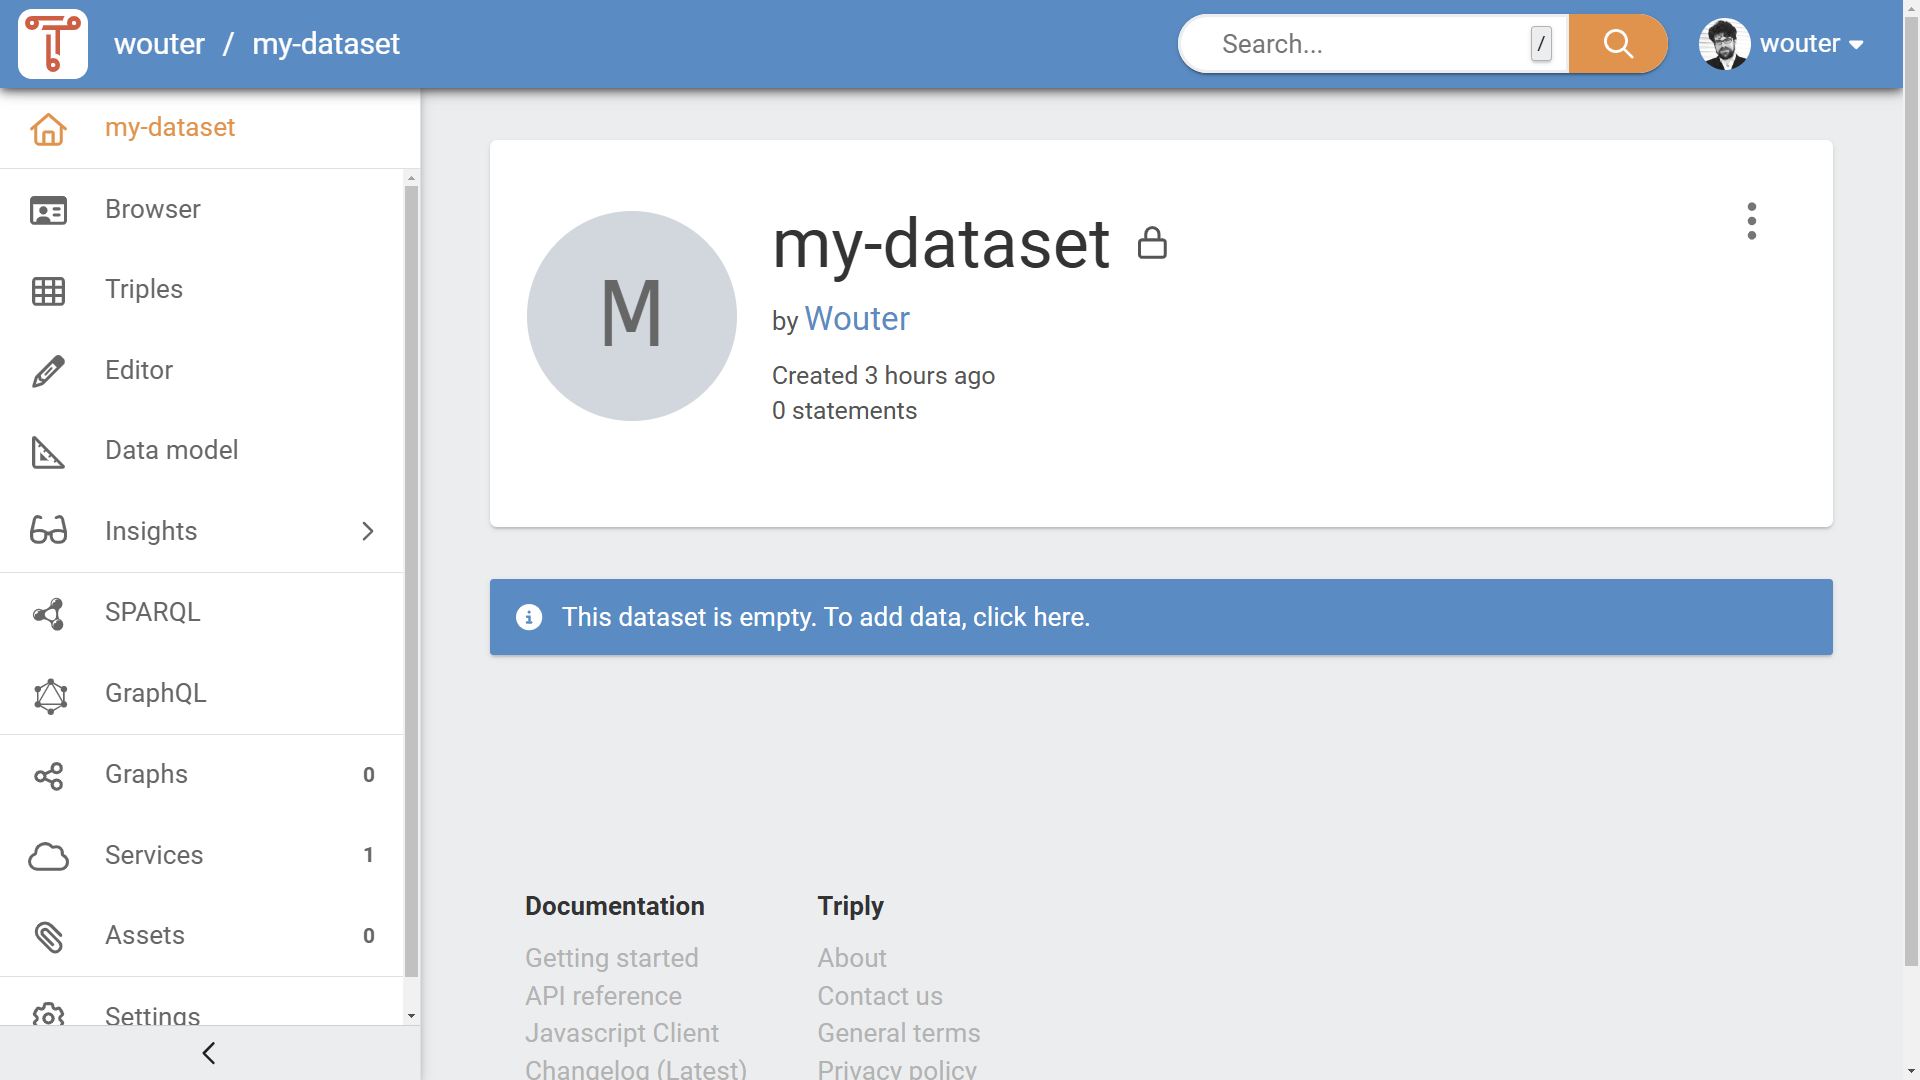
From the home screen (see Figure 1a), open your account through "Your account" under "Quick links", or pick one from the "Content" entry in the left-hand sidebar.
-
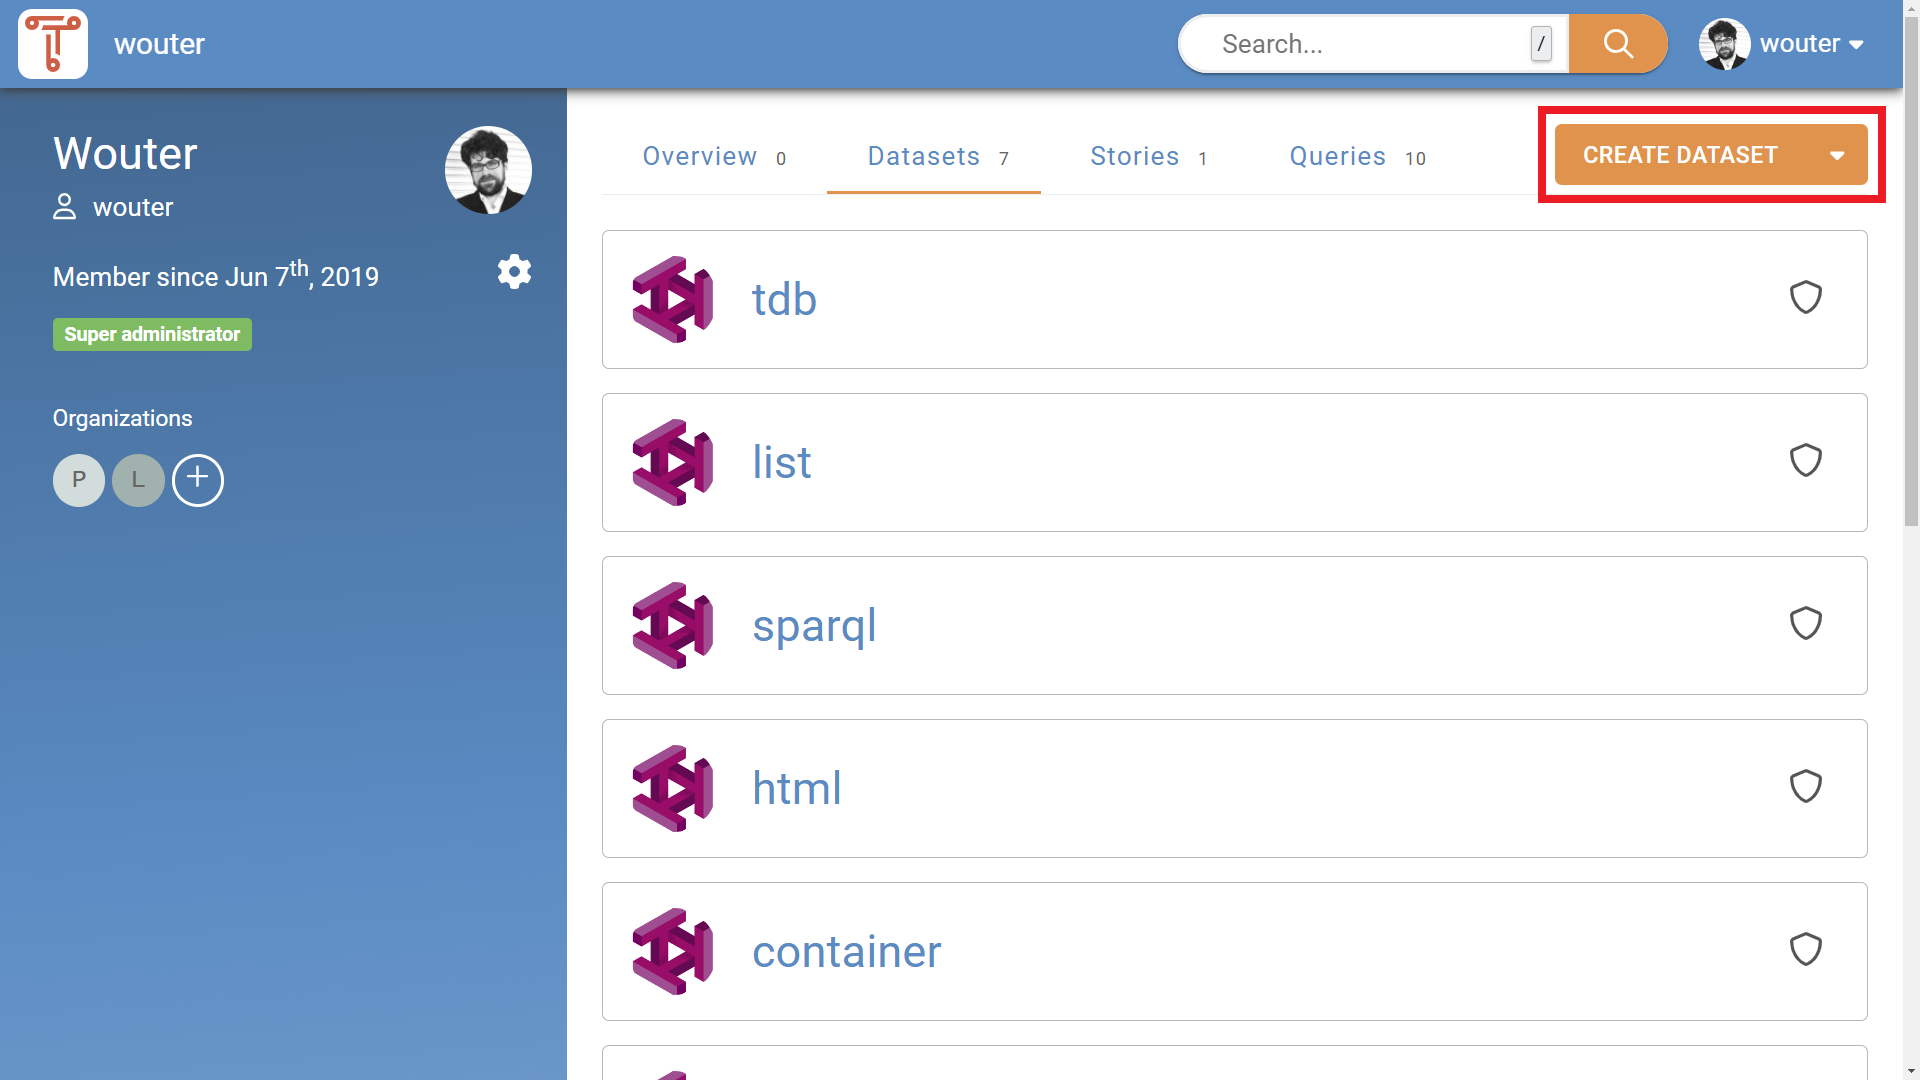
On the account page (see Figure 1b), click the “New” button in the top-right corner and choose “Dataset”. The same button also creates stories, queries, flows and groups.
Inside the “Create dataset” dialog
This opens the “Create dataset” dialog (see Figure 2).
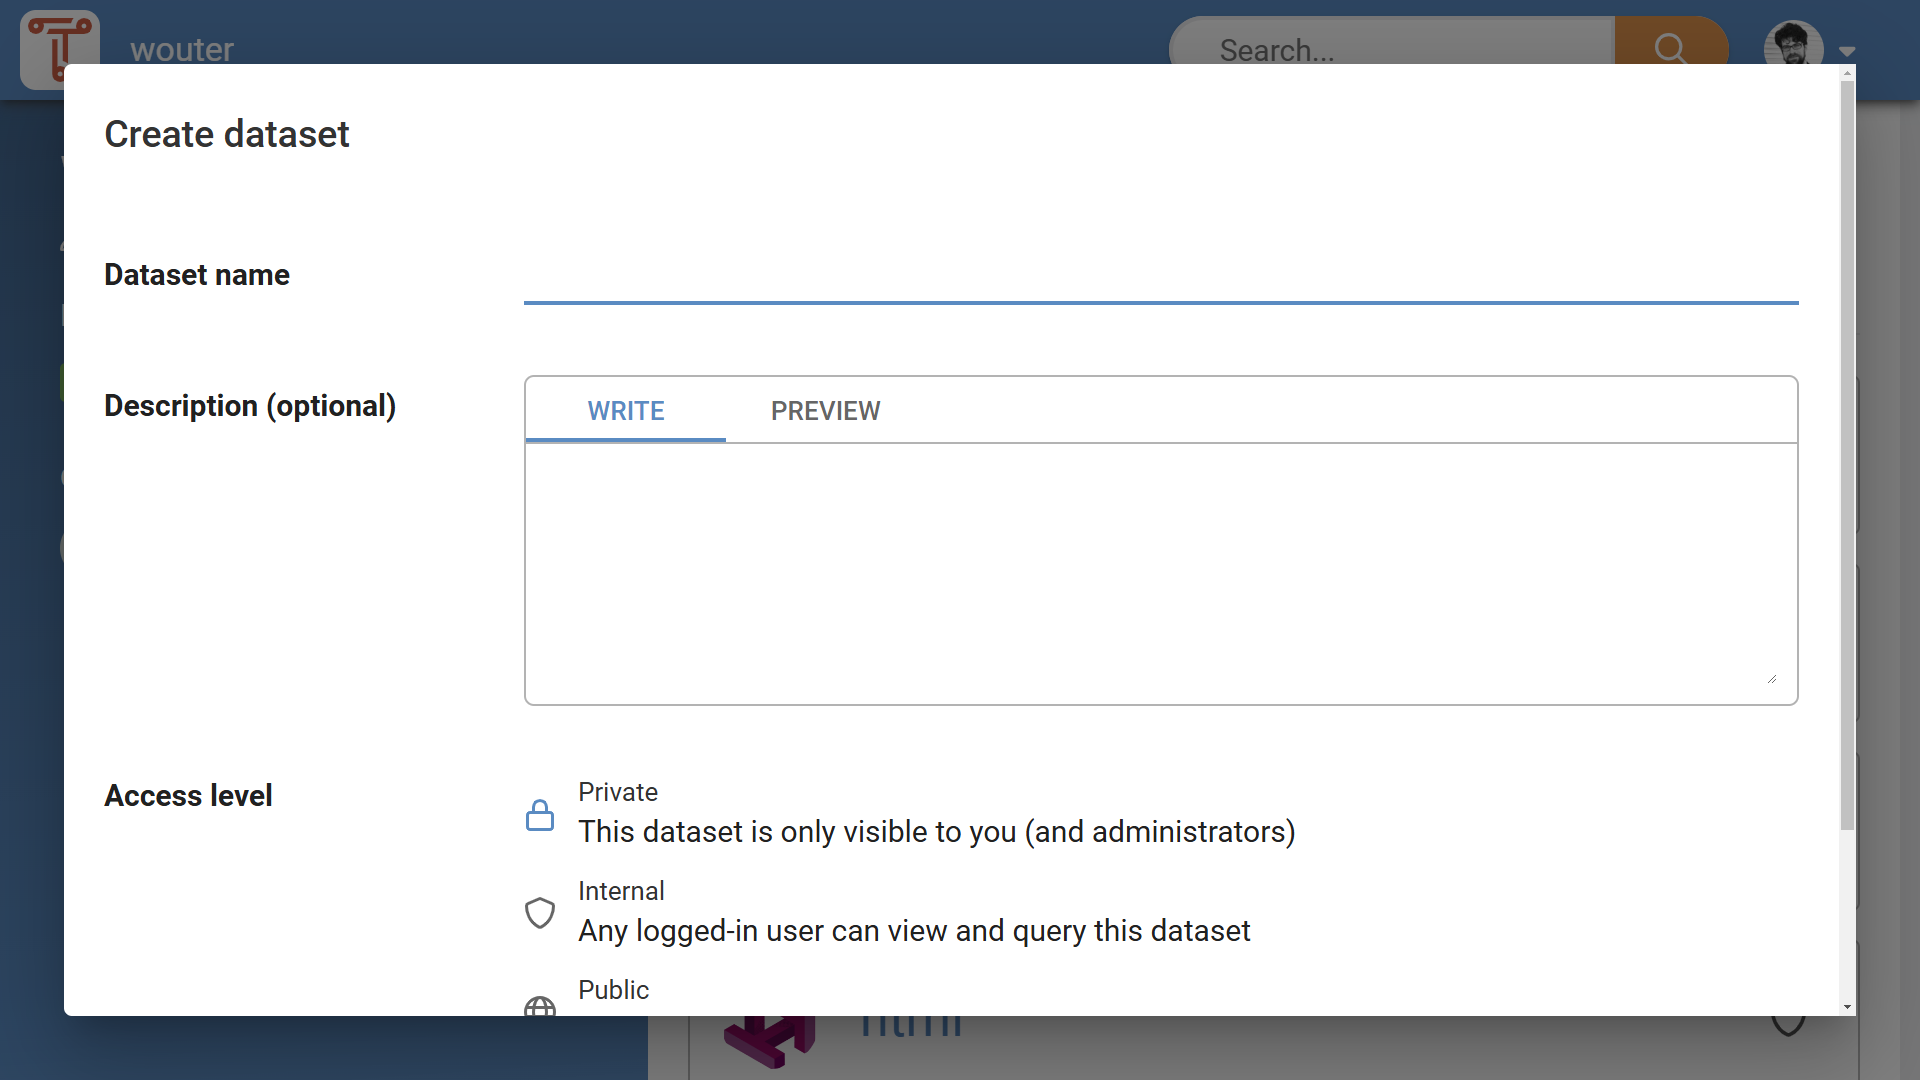
In the “Create dataset” dialog, perform the following steps:
-
Required: Choose the owner. This is the account the dataset will belong to: yourself, or one of the groups you are a member of.
-
Required: Enter a dataset name. A dataset name can contain letters, number, and hyphens. The dataset's URL is derived from it, and can be changed separately with the pencil button beside the field.
-
Optional: Enter a dataset description. This description will be shown in the GUI, and will be included in dataset metadata. The description can be formatted with Markdown, and the "Preview" tab shows how it will read. See Section Markdown for details.
-
Optional: Change the access level of the dataset. The standard access level is “Private”. See Section Dataset Access Levels for more information.
Click “Add dataset”. This creates the dataset and opens its Graphs page, from which data is added (see Section Adding data).
Adding data
You must first have a dataset, before you can add data. See Section Creating a new dataset for more information.
Opening the Graphs page
Data is added on a dataset's Graphs page. You can reach it in any of the following ways:
- Click "Graphs" under "Ecosystem" in the left-hand sidebar (see Figure 3a).
- Click the "Import data" card on the dataset homepage (see Figure 3b).
- After creating a new dataset, the Graphs page is opened for you.
Choosing how to import
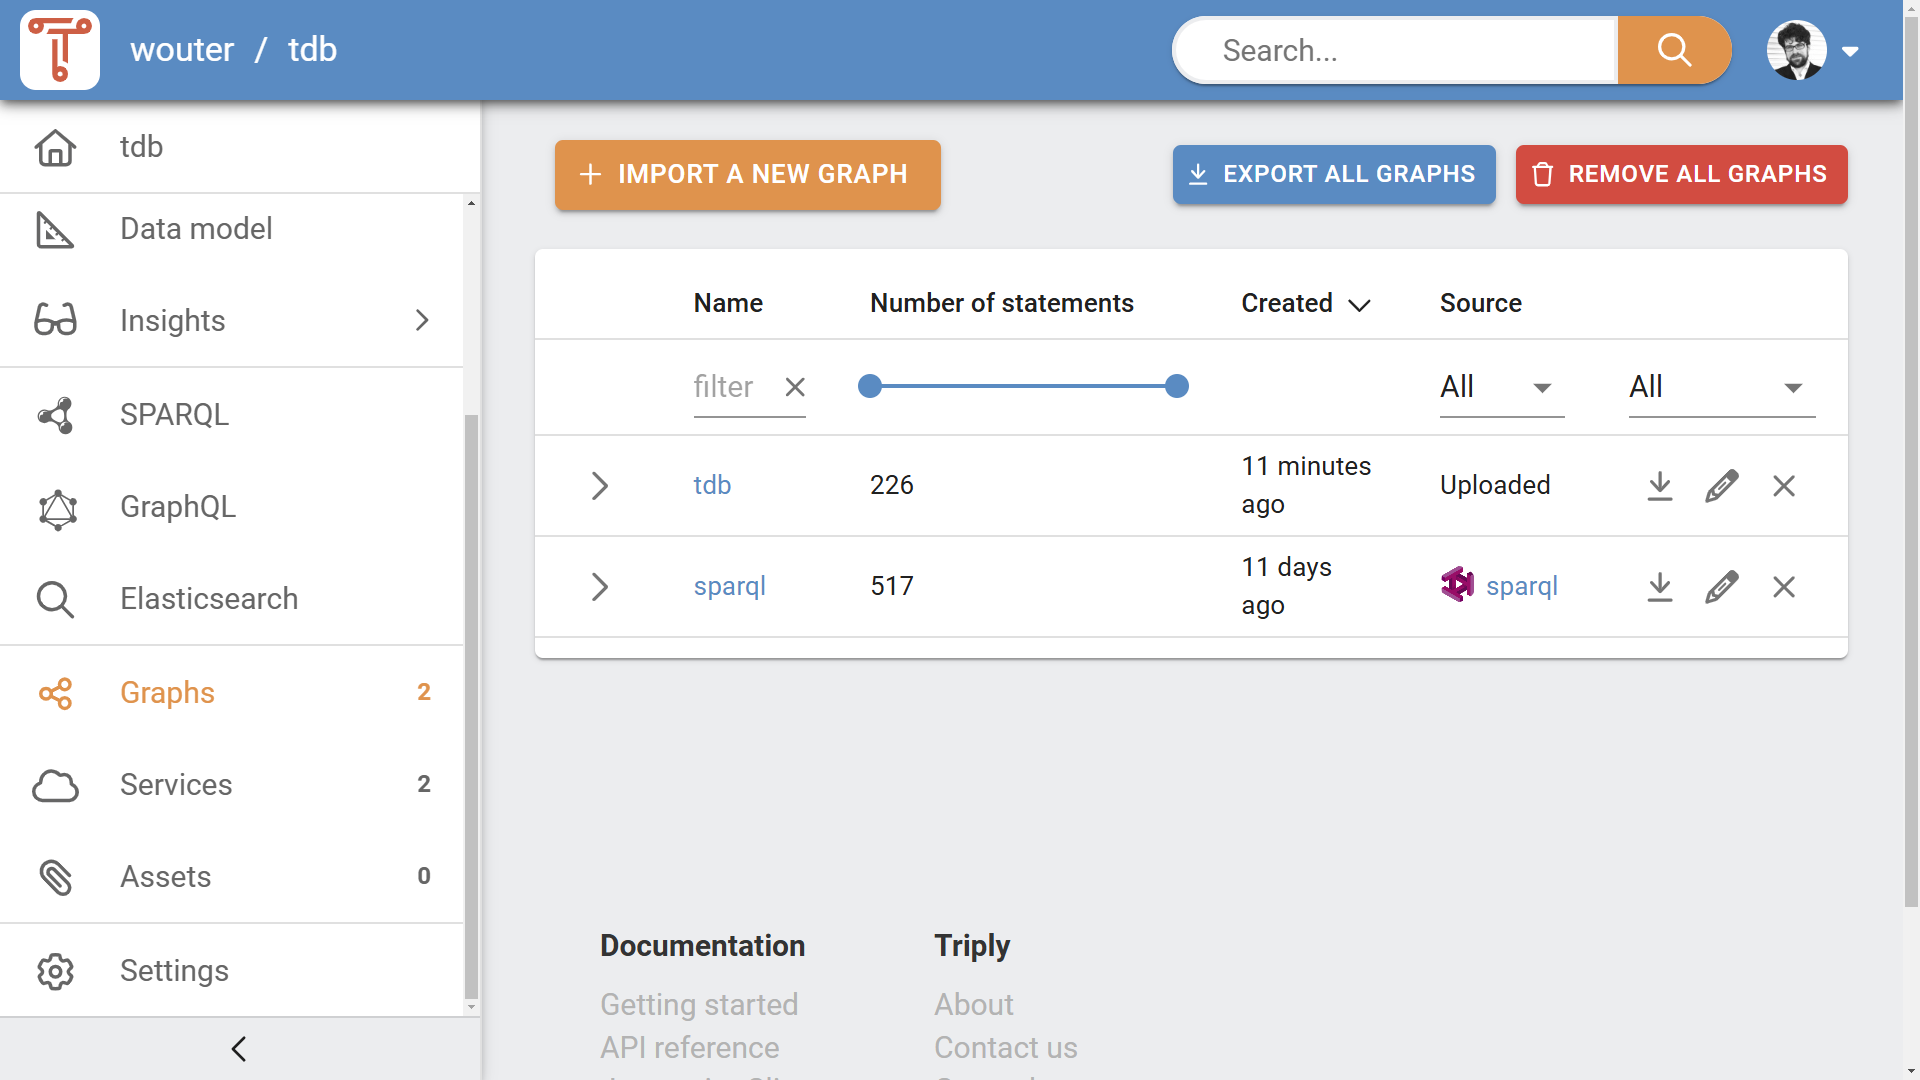
A dataset with no graphs yet offers the three import routes as cards (see Figure 4). Once the dataset has data, the same three are behind the "Import a new graph" button in the top-right corner.
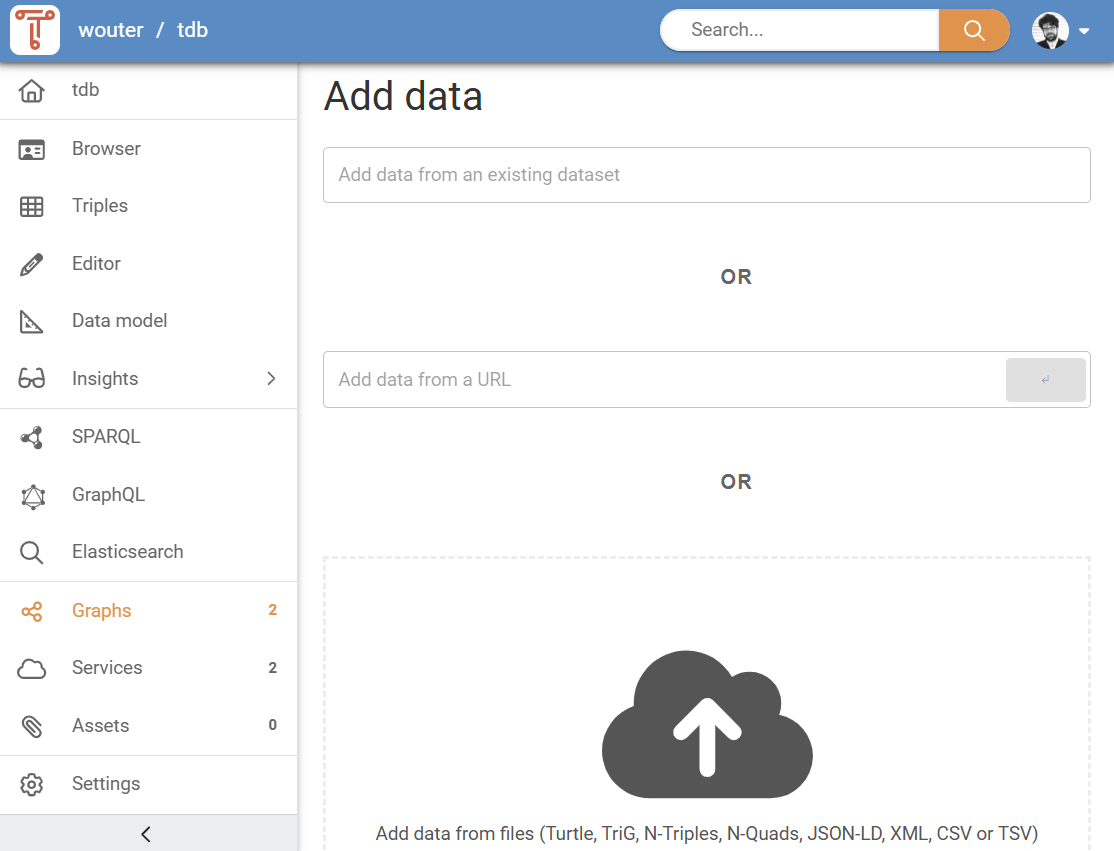
Choose one of the following approaches for adding data:
- "Import from existing dataset"
- Import graphs from another dataset that you have access to in the TriplyDB system. After you have found a dataset, you can choose which graphs to add. See Section Add data from an existing dataset for more details.
- "Import from URL"
- Enter a URL to a data file that is published online. The URL must be publicly accessible. The URL must point to a file that contains RDF or CSV data. See Section Add data from a URL for more details.
- "Upload from your computer"
- Select one or more files from your computer, or drop them anywhere on the page. Files must contain RDF or CSV data. See Section Add data from files for more details.
Add data from an existing dataset
The first option for adding data is to add it from datasets that are already published in the same TriplyDB instance. Choosing "Import from existing dataset" opens the "Import from a dataset" dialog, with a "Dataset" field at the top. By typing in this field, a dropdown list of matching datasets is shown (see Figure 5). The list covers every dataset on the instance that you have access to, so it pays to type enough to narrow it down.
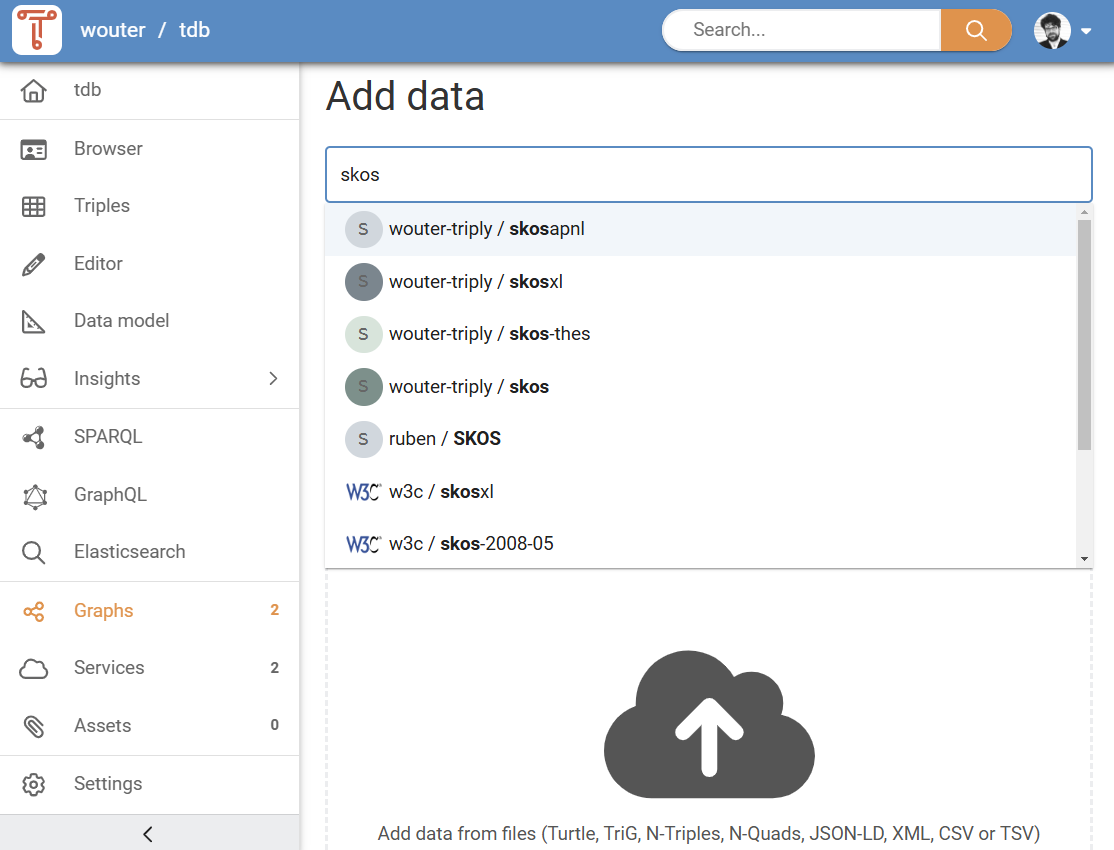
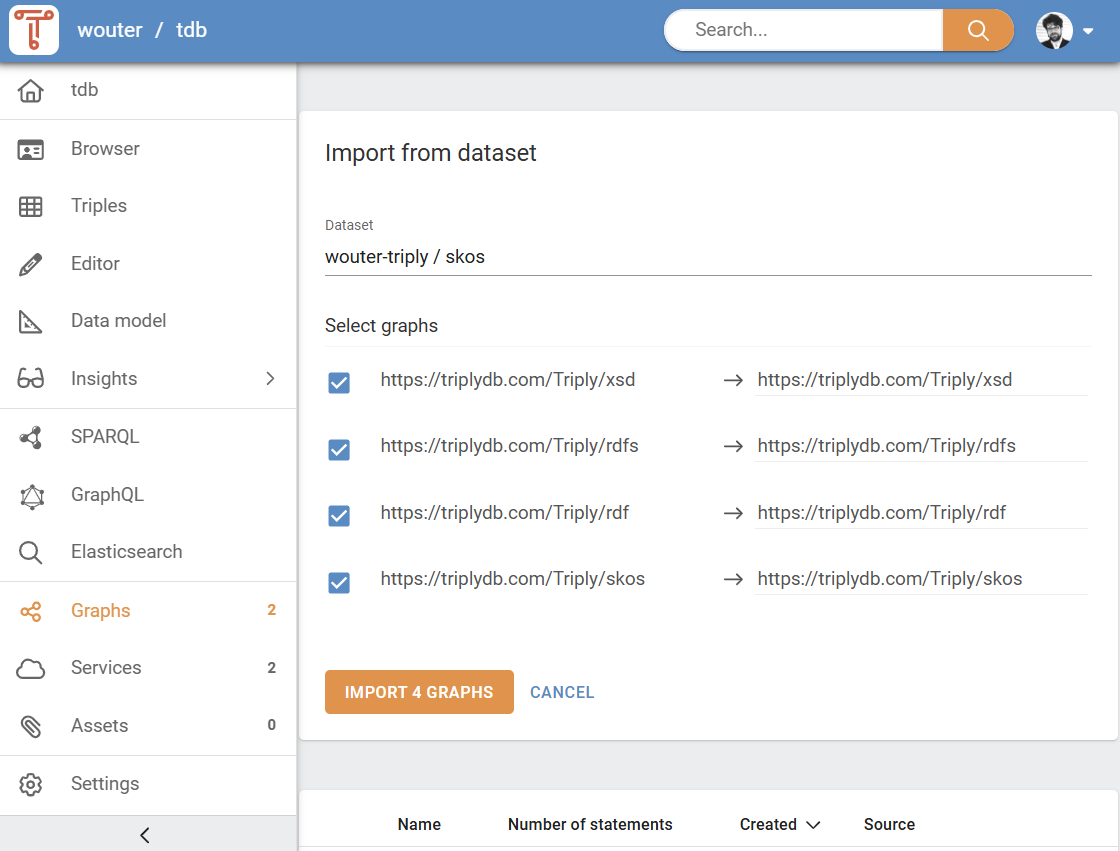
Once the correct dataset appears in the dropdown list, click it to select it. The dialog then lists that dataset's graphs under "Select graphs" (see Figure 6). All of them are ticked to begin with; untick the ones you do not want, and use the pencil beside a graph to give it a different name in your own dataset. The button counts your selection: click "Import n graphs" to start. Moments later, the graphs are added to your dataset.
Add data from URL
The second option for adding data is to add it from an online URL. Choosing "Import from URL" opens a dialog with a single URL field (see Figure 7). After you have entered the URL, click "Import" to start adding data. The data is now being downloaded to your dataset. How long this takes depends on the size of the data and the speed of the remote server where the data is retrieved from.
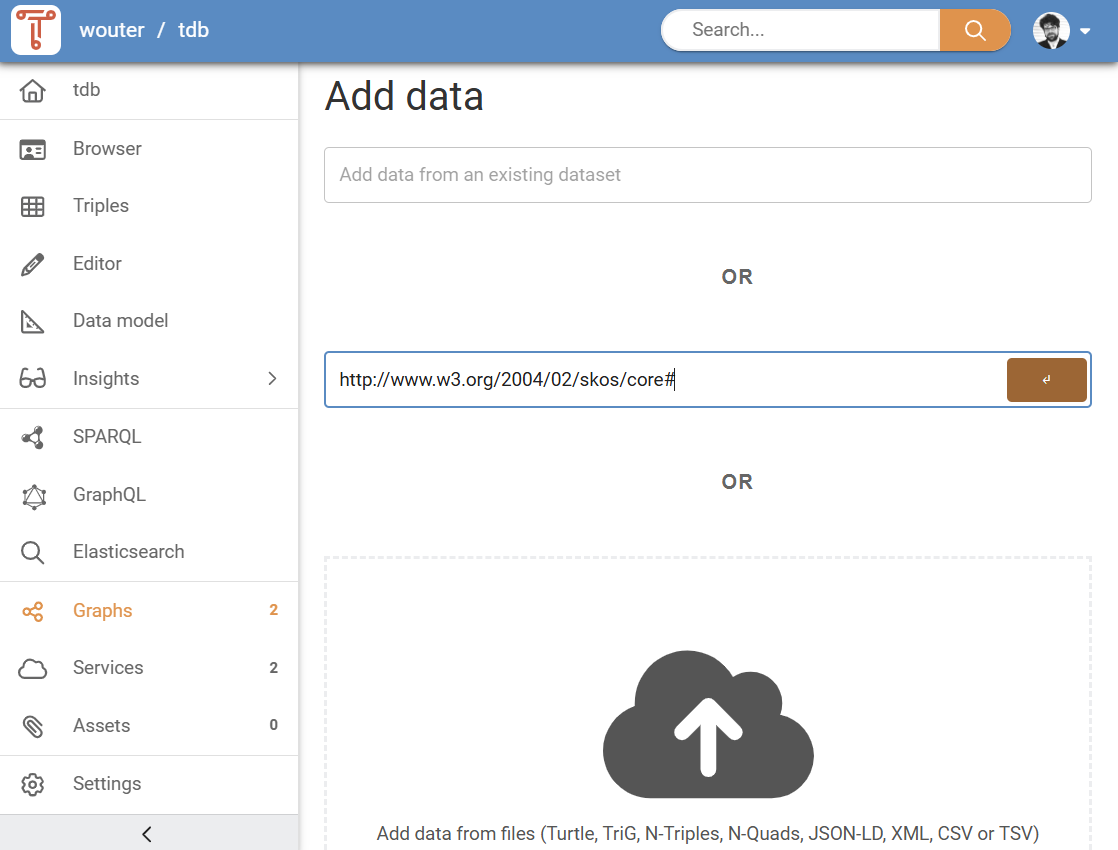
Only URLs that contain supported data formats will be added. See Section Supported data formats for more information.
Add data from files
The third option for adding data is to add it from files that are on your computer. Choosing "Upload from your computer" opens the "Add data from files" pane, which is one large drop zone (see Figure 8). From here you can add files in two ways:
- Click the cloud icon with the upward pointing arrow. This opens your operating system's own file picker, in which you can select one or more files at a time.
- Drag-and-drop one or more files from your computer onto the drop zone.
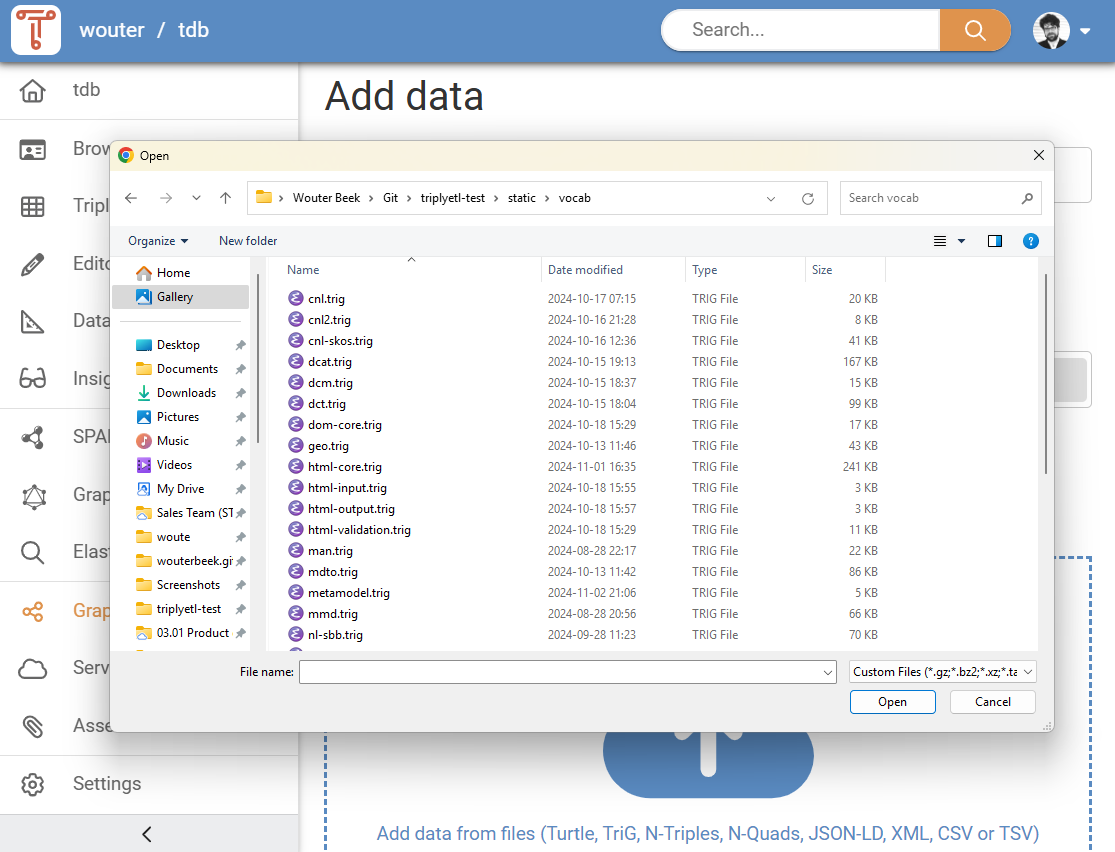
After you have added one or more files, a list of uploaded files appears (see Figure 9). You can add or remove more files, until you have the complete upload job configured. Once the list of files is complete, you can click "Import from files" to start adding data from files. How long this takes depends on the size of the data.
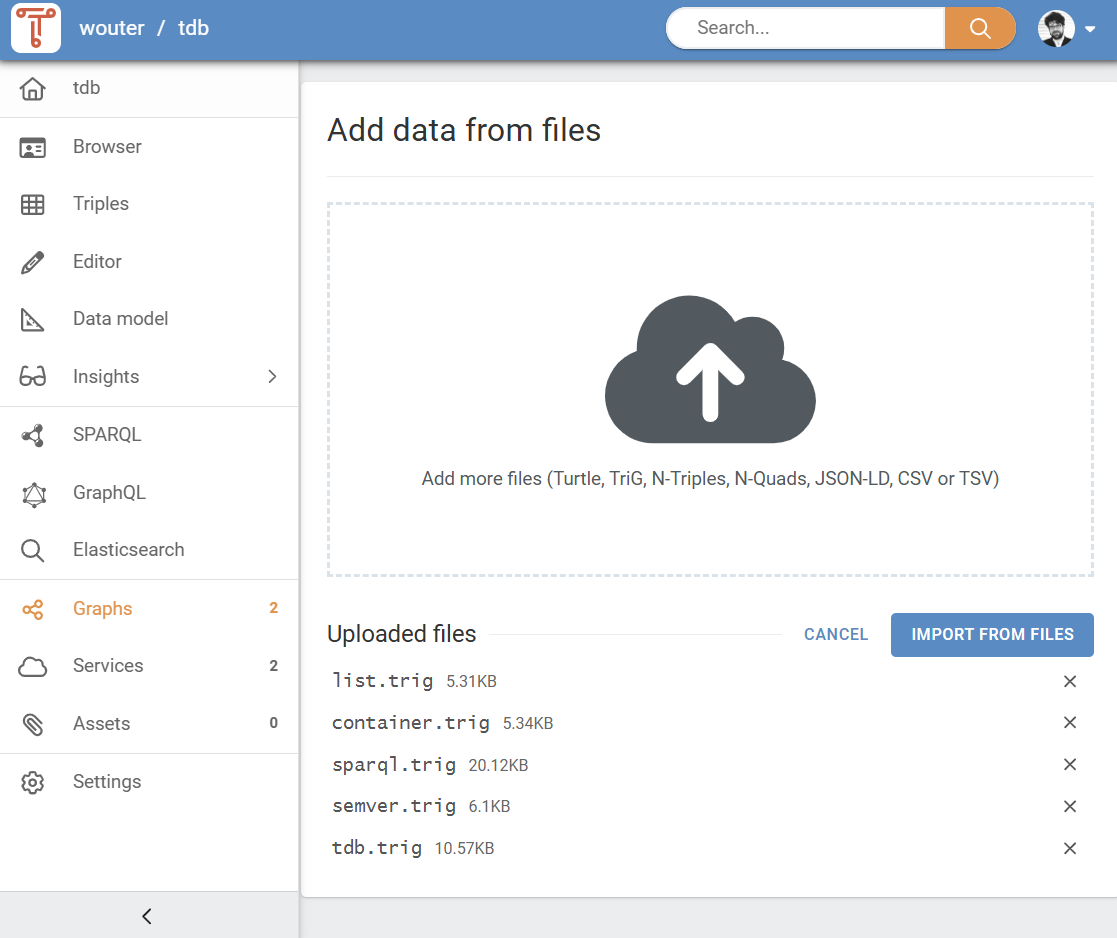
Only files that contain supported data formats will be added. See Section Supported data formats for more information.
Supported data formats
Files must contain RDF, CSV, TSV, XML or JSON data, and must use one of the supported file name extensions:
| Data Format | File name extension |
|---|---|
| Comma-Separated Values (CSV) | .csv |
| Tab-Separated Values (CSV) | .tsv |
| XML | .xml |
| GPX | .gpx |
| JSON | .json, .jsonl, .ndjson |
| JSON-LD | .jsonld |
| N-Quads | .nq |
| N-Triples | .nt |
| RDF/XML | .rdf, .rdfs, .owl, .owx |
| TriG | .trig |
| Turtle | .ttl, .n3 |
It is possible to upload up to 1,000 separate files in this way. When you have a lot of files and/or large files, it is better to compress them into an archive format. This allows an any number of files of any size to be uploaded. The following archive/compression formats are supported:
| Archive format | File name extension |
|---|---|
| gzip | .gz |
| bzip2 | .bz2 |
| tar | .tar, .tgz |
| XZ | .xz |
| ZIP | .zip |
CSV and TSV format
When you upload CSV (Comma-Separated Values) or TSV (Tab-Separated Values) files to TriplyDB, they are automatically converted to RDF and stored in two linked data representations:
- Facade-X representation: An expressive RDF model that preserves the full structure of the tabular data. The model is documented in detail here.
- Simple representation: A straightforward row-based model for easier querying
Simple representation:
The simple representation provides a more opinionated and direct mapping, and is suitable for tables with a simple structure:
- A table resource is created that links to all rows via
rdfs:member - Each row gets a unique IRI based on the row number (e.g.,
.../row/1,.../row/2, etc.) - Column headers become properties in the
https://triplydb.com/table/triply/def/namespace - Each property has an
rdfs:labelwith the original column header name - Cell values are stored as string literals
Take for example this CSV file:
product_id,name,category,price,in_stock
P001,Laptop Stand,Office Equipment,49.99,true
P002,Ergonomic Keyboard,Peripherals,89.50,true
This can be queried as such:
prefix table: <https://triplydb.com/table/triply/def/>
prefix rdfs: <http://www.w3.org/2000/01/rdf-schema#>

select ?name ?category ?price where {
  ?table rdfs:member ?row .
  ?row table:name ?name ;
       table:category ?category ;
       table:price ?price .
}
XML format
When you upload XML files to TriplyDB, they are automatically converted to RDF using the Facade-X data model, the same model that is used for JSON and tabular uploads. This preserves the hierarchical structure of the document, making it queryable via SPARQL. See here for the Facade-X XML data model in general; the rest of this section describes how TriplyDB fills it in.
An element becomes a resource, and its children are attached to it twice: once by a predicate
derived from the child's own name, and once by the container membership property rdf:_1, rdf:_2
and so on, which records the order the children appear in.
- Every element is typed by its own name, so a
<name>element is both the object of anamepredicate and an instance of anameclass. The root element is additionally typed<http://sparql.xyz/facade-x/ns/root>. - Element resources get an opaque IRI in the dataset's
id/namespace, built from the local name and a UUID. The structure, not the IRI, is what identifies an element. - Text content is attached by
rdf:_Nas a plain literal, in the same numbering as the child elements — so a mixed element's text and children keep their relative order. Leading and trailing whitespace is trimmed, because a line break between a tag and its text is rarely meant as data. - Comments, the XML declaration and entity declarations are not represented.
Namespaces
A namespace IRI is normalised to end in /, so that a local name can be appended to it. This is why
xml:lang becomes <http://www.w3.org/XML/1998/namespace/lang>, with a slash that the namespace
name in XML Namespaces does not itself carry.
Which namespace a name lands in depends on how it is written:
| In the document | Becomes |
|---|---|
A prefixed name, xx:someThing |
The prefix's namespace plus the local name |
An unprefixed element, with xmlns in scope |
The default namespace plus the local name |
An unprefixed element, with no xmlns in scope |
https://triplydb.com/xml/def/someThing |
An unprefixed attribute, with xmlns in scope |
The default namespace, plus attr/ and the local name |
An unprefixed attribute, with no xmlns in scope |
https://triplydb.com/xml/def/attr/someThing |
| A prefixed name whose prefix was never declared | https://triplydb.com/xml/def/ns/xx/someThing |
Two things are worth singling out. An unprefixed attribute is given the element's default namespace,
even though XML Namespaces says such an attribute has
no namespace at all — linked data needs an IRI, and the document's own namespace is a better guess
than a TriplyDB one. The attr/ segment in that IRI is what keeps an attribute apart from a child
element of the same name; a local name can never contain a slash, so the two cannot collide.
Namespace declarations themselves (xmlns and xmlns:*) produce no triples. They are XML syntax
rather than content, and they are already reflected in the IRIs of the names they scope.
Prefixes declared in the document are registered as prefixes on the dataset, alongside id for the
element IRIs, def and attr for the namespaces above, and txml for
https://triplydb.com/xml/, which is where properties that the parser itself introduces live. The
prefix xml is not reassigned: it denotes the XML namespace, and is
registered instance-wide.
Example
Take this XML file:
<?xml version="1.0" encoding="UTF-8"?>
<model xmlns="http://www.opengroup.org/xsd/archimate/3.0/" identifier="id-1">
  <element identifier="id-2">
    <name xml:lang="nl">Reads</name>
  </element>
</model>
It becomes the following, where each UUID stands for a freshly generated identifier:
prefix archi: <http://www.opengroup.org/xsd/archimate/3.0/>
prefix fx: <http://sparql.xyz/facade-x/ns/>
prefix id: <https://triplydb.com/ACCOUNT/DATASET/id/>
prefix rdf: <http://www.w3.org/1999/02/22-rdf-syntax-ns#>
prefix xml: <http://www.w3.org/XML/1998/namespace/>

id:model-UUID a fx:root, archi:model;
  <http://www.opengroup.org/xsd/archimate/3.0/attr/identifier> "id-1";
  archi:element id:element-UUID;
  rdf:_1 id:element-UUID .

id:element-UUID a archi:element;
  <http://www.opengroup.org/xsd/archimate/3.0/attr/identifier> "id-2";
  archi:name id:name-UUID;
  rdf:_1 id:name-UUID .

id:name-UUID a archi:name;
  xml:lang "nl";
  rdf:_1 "Reads" .
Note that the attribute predicates are written out in full: attr/identifier contains a slash, which
a prefixed name cannot hold, and which SPARQL would otherwise read as a property path.
Which can be queried as such:
prefix archi: <http://www.opengroup.org/xsd/archimate/3.0/>
prefix fx: <http://sparql.xyz/facade-x/ns/>
prefix rdf: <http://www.w3.org/1999/02/22-rdf-syntax-ns#>

select ?identifier ?name where {
  ?model a fx:root ;
         archi:element ?element .
  ?element <http://www.opengroup.org/xsd/archimate/3.0/attr/identifier> ?identifier ;
           archi:name/rdf:_1 ?name .
}
RDF/XML
An XML document whose root element is <rdf:RDF> is RDF/XML rather than arbitrary XML, and is
refused with a message saying so: upload it under the .rdf extension, which parses it as RDF
instead of mapping it into Facade-X.
JSON format
When you upload JSON files to TriplyDB, they are automatically converted to RDF using the Facade-X data model, the same model that is used for XML and tabular uploads. This preserves the structure of the JSON document, making it queryable via SPARQL. See here for more details on the Facade-X JSON data model.
Note that .json files are read as plain JSON. Use the .jsonld extension for
JSON-LD documents, so that their @context is interpreted.
Objects and arrays are both mapped to containers: the members of an object are linked by their key, the members of an array by their position.
- The document itself is typed
<http://sparql.xyz/facade-x/ns/root>. - Object keys become properties in the
https://triplydb.com/json/def/namespace. Spaces and non-ASCII characters in a key are percent-encoded, so the keywith spacebecomeshttps://triplydb.com/json/def/with%20space. - Array members are linked by the container membership properties
rdf:_1,rdf:_2, and so on, in the order in which they appear. - Strings become plain literals, booleans become
xsd:booleanliterals, and numbers becomexsd:decimalliterals. An exponent is expanded, because it is not part of the lexical space ofxsd:decimal:1e10becomes10000000000. Digits are never rounded away, so a number that does not fit a 64-bit float —1234567890123456789,0.000000000000000001— keeps its full precision. - Uploads are information-preserving: a
nullis kept as the IRIhttps://triplydb.com/json/def/nullrather than dropped, and a key that occurs twice in the same object yields both values.
Take for example this JSON file:
{
  "name": "Friends",
  "genres": ["Comedy", "Romance"],
  "cast": [
    { "actor": "Jennifer Aniston", "role": "Rachel" },
    { "actor": "Matt LeBlanc", "role": "Joey" }
  ]
}
This can be queried as such:
prefix def: <https://triplydb.com/json/def/>
prefix fx: <http://sparql.xyz/facade-x/ns/>

select ?name ?actor ?role where {
  ?show a fx:root ;
        def:name ?name ;
        def:cast ?cast .
  ?cast ?position ?member .
  ?member def:actor ?actor ;
          def:role ?role .
}
The position of an array member is part of its predicate, so a variable in that position —
?position above — iterates over every member, while rdf:_1 selects only the first one.
A single file may hold several JSON documents, one after the other; each becomes its own root
resource. This is what the .jsonl and .ndjson extensions of
JSON Lines are for, but it works for a .json file with concatenated
documents as well.
Adding malformed data
TriplyDB only allows valid RDF data to be added. If data is malformed, TriplyDB will show an error message that indicates which part of the RDF data is malformed (see screenshot). If such malformed data is encountered, the RDF file must first be corrected and uploaded again.
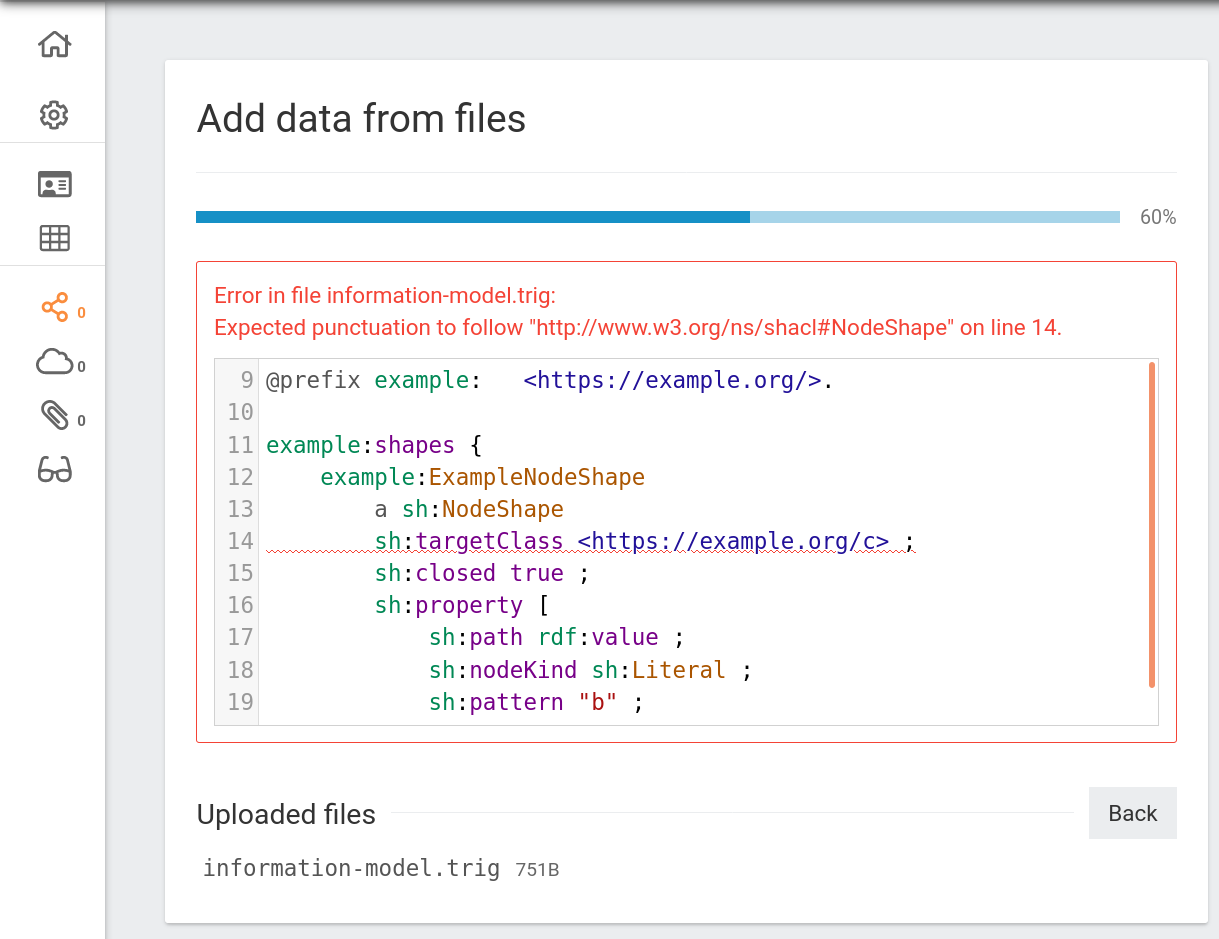
TriplyDB follows the linked data standards strictly. Many triple stores allow incorrect RDF data to be added. This may seem convenient during the loading phase, but often results in errors when standards-compliant tools start using the data.
Assets: binary data
Not all data can be stored as RDF data. For example images and video files use a binary format. Such files can also be stored in TriplyDB and can be integrated into the Knowledge Graph.